Fixing Resolution of HDMI Output on PC
If you’re using your HDMI-enabled TV or screen as a second monitor on your PC, you may experience issues with the resolution. This can occur when you’re streaming TV shows and watching movies or using it to perform work. For normal use as a monitor, Windows will control the display settings for your HDMI connection. When you’re watching videos, the source application may override the Window settings, leading to inconsistent results. If you face issues with your Windows resolution, this guide will help you with fixing the resolution of the HDMI output on your PC.
Fixing HDMI Resolution Issues

When you experience variations in resolution from your HDMI TV connected to your PC, it could point to a setting on the TV. Depending on the manufacturer, you may have to adjust the picture settings using the menu options. Specifically, there’s a legacy setting on older TVs called “overscan.” This can lead to inappropriate resolutions and screen sizes.
Change the HDTV Settings for PC Use
Overscan is a technology that helped content creators to deliver consistent pictures on a variety of different screen sizes and aspect ratios. As technology improved and manufacturers followed new standards, overscan became obsolete.
If you can’t access or see all the edges of the desktop on the screen, it’s likely that overscan is to blame. To fix it, make sure you change your HDTV’s aspect ratio to the Screen Fit setting in the Picture settings.
Finding the right setting will vary between manufacturers and models. Usually, the setting is available under Picture Settings or Advanced Options. Look for the Aspect Ratio you’re currently using and make sure it is set to Screen Fit whenever you use the HDMI TV as a monitor.
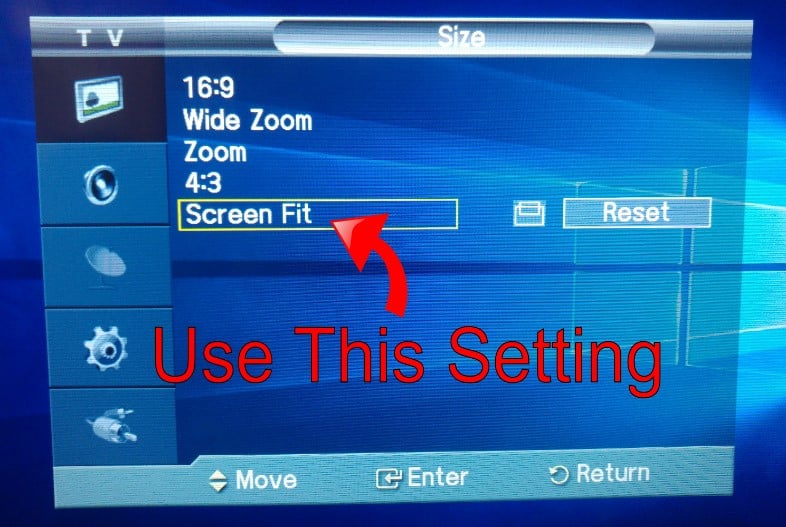
Some models will have an overscan setting instead of specific aspect ratios. If this is the case, ensure you use the Screen Fit option for the best results or turn off overscan. If you’re unsure about the settings, check the User Manual of your HDMI TV.
How Do I Change the Resolution for My HDMI TV from My PC?
If you’ve changed the Aspect Ratio and the screen now fits on the TV, you may also face issues with the resolution settings on the PC. To change your resolution settings, you’ll need to access your PC’s display options.
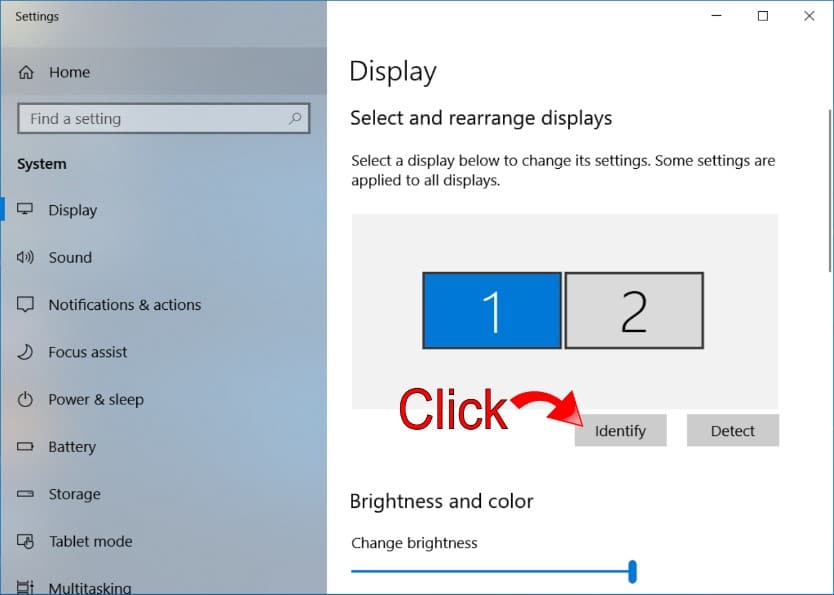
- Hit the Windows Key and type Change Display Settings. You can then click on the top result.

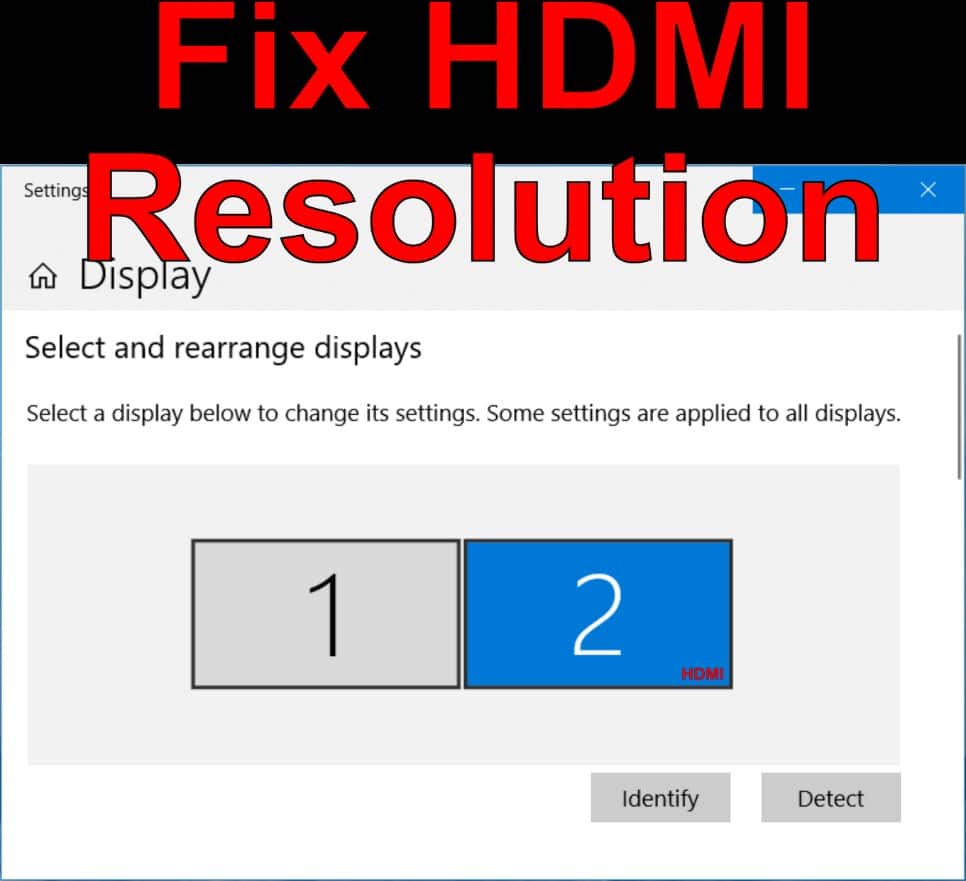
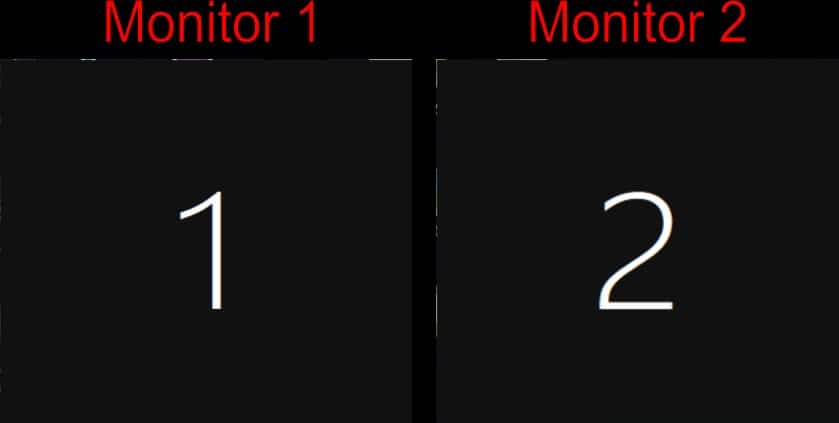
- Once the Display Settings App opens, you’ll see two screens (or more if you’ve got multiple HDMI outputs connected). Make sure you select the right display for the HDMI TV before making any changes. You can do this by clicking on Identify.
- You’ll see the number from the screenshot above displayed on the monitors for a brief period. Depending on which screen is set to your primary display, make sure you change the settings for the HDMI monitor.
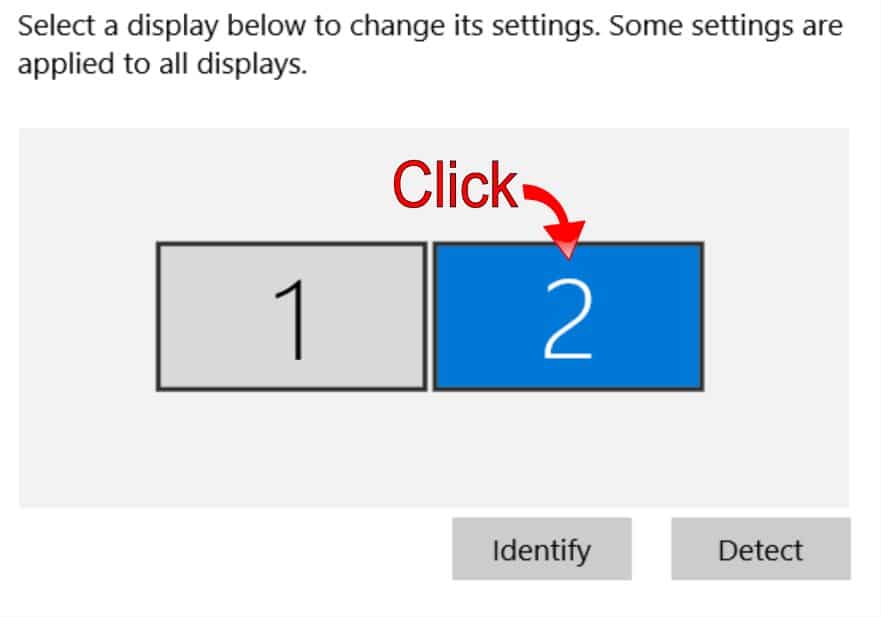
- Select the HDMI monitor from the available displays.
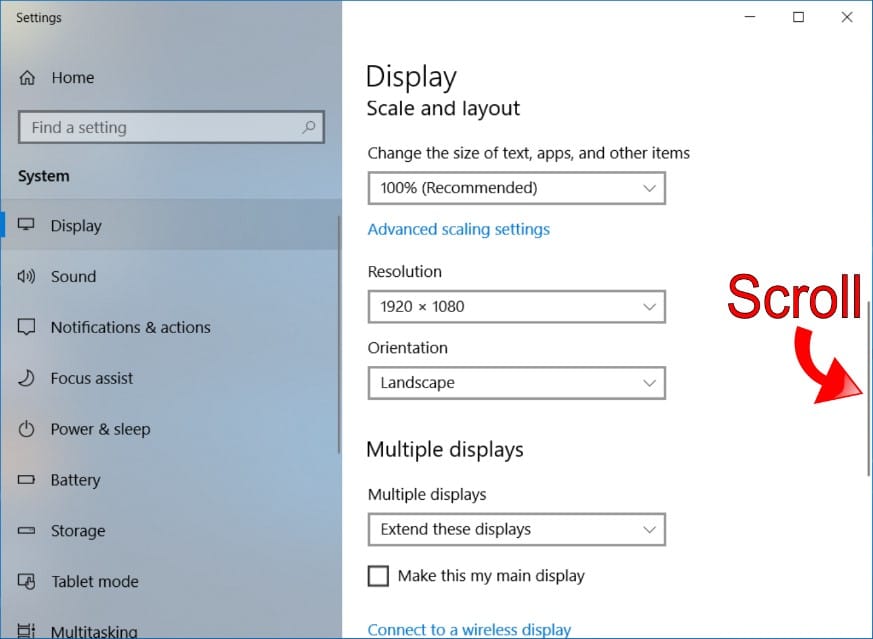
- Scroll down until you see the current resolution settings for your HDMI monitor.
- You can change the resolution settings and test different values that match your HDMI TV’s configuration.
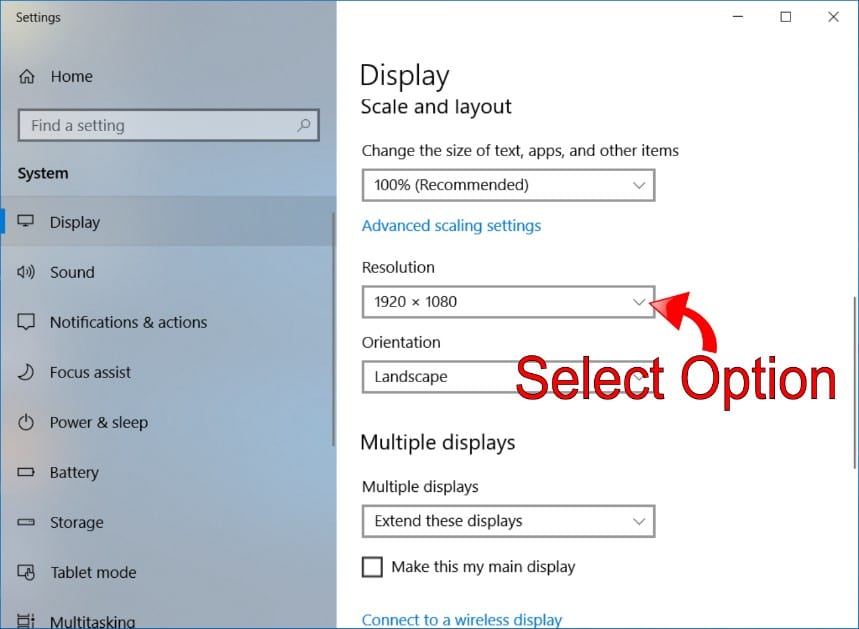
- Once you change the setting, Windows will apply the new resolution for a limited time and revert if you don’t accept the new setting.
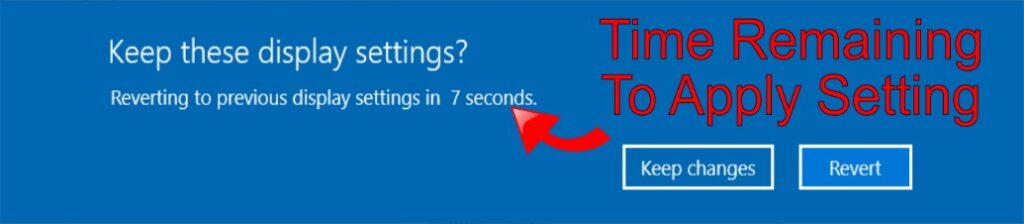
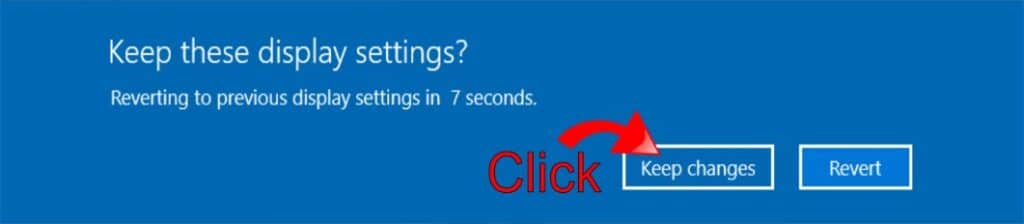
- Once you’ve found the best resolution for your TV, select Keep Changes to keep the new resolution.
Note that if you do not have all the different resolutions available you may need to use your Graphics Card’s software to update the resolution.
Changing Resolution Settings in Graphics Card Software
If you want to change your resolution settings, you can use the manufacturer of the graphics card’s software instead of Windows. Depending on your specific set up there will be different methods for changing the resolution. Firstly, depending on how you’ve connected the primary and secondary monitors will determine if you’re using onboard graphics or the installed GPU. On laptops, it’s common to use the onboard graphics for the normal screen, and the HDMI monitor will use the installed GPU.
For a set up that uses both onboard graphics and a GPU, you may need to change the settings for the onboard graphics.

Changing Onboard Graphics Settings with Intel Software
To change your Intel Graphics settings, you’ll need to access the graphic properties of the GPU.
- Use the Right Hand Mouse (RHMB) and click anywhere on the desktop. Then select Graphics Properties.

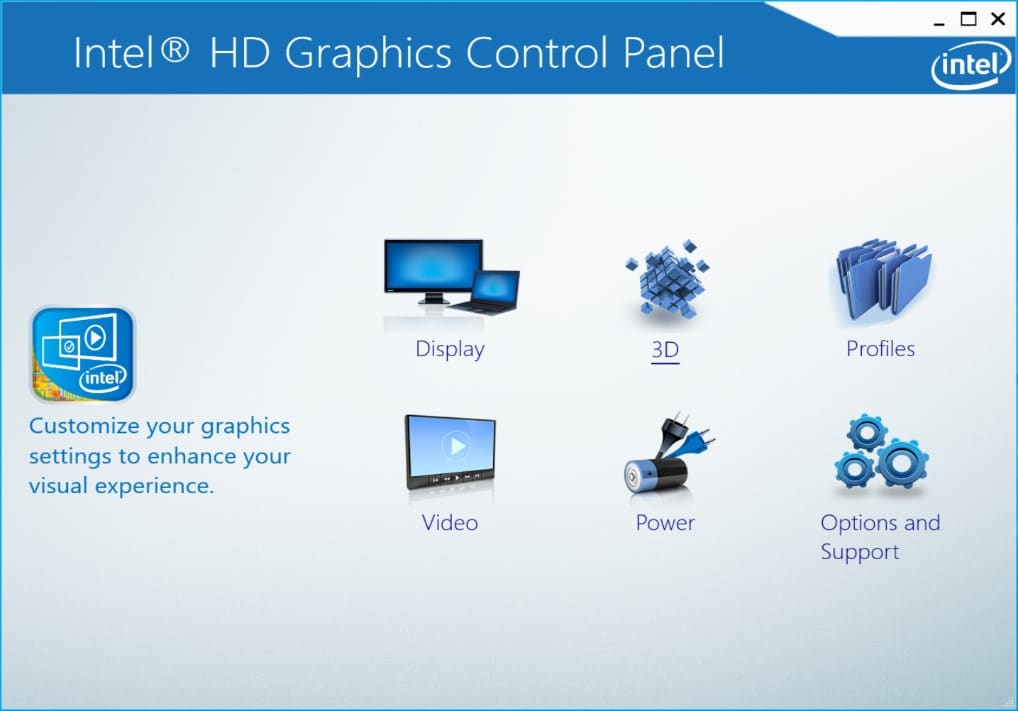
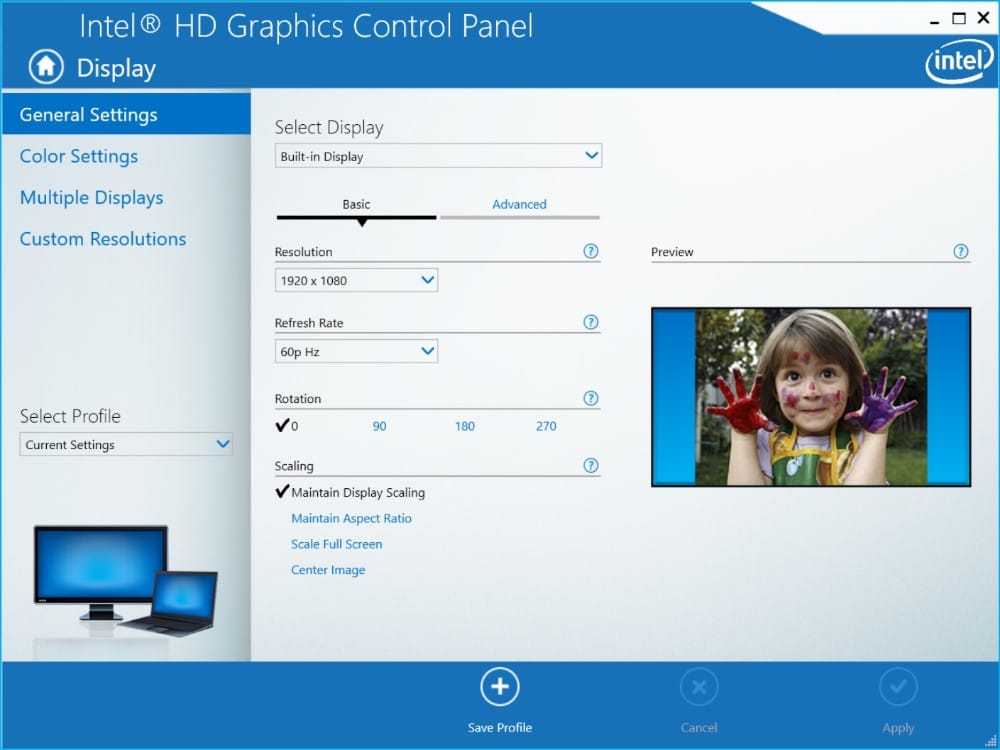
- This will open the Intel Graphics Control Panel. Here you can change the resolution settings for the monitors, create profiles, check your 3D and Power Settings, as well as find information on other options and support.
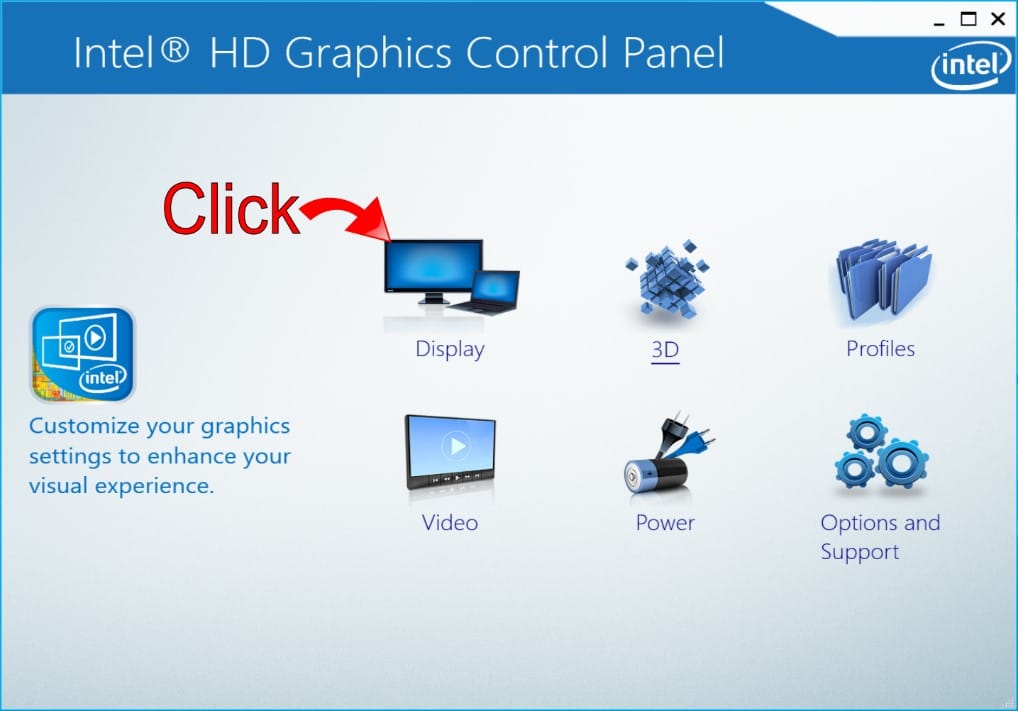
- Click on Display to access your current Intel Graphics settings.
- Similar to the Windows settings, you can change the resolution for each monitor connected to your PC from the Intel Graphics Control Panel display settings. You can also adjust color settings, change which monitor to use as the primary display, and adjust zoom levels using the scaling features.
- To change your HDMI monitor’s display settings, select it from the dropdown provided.
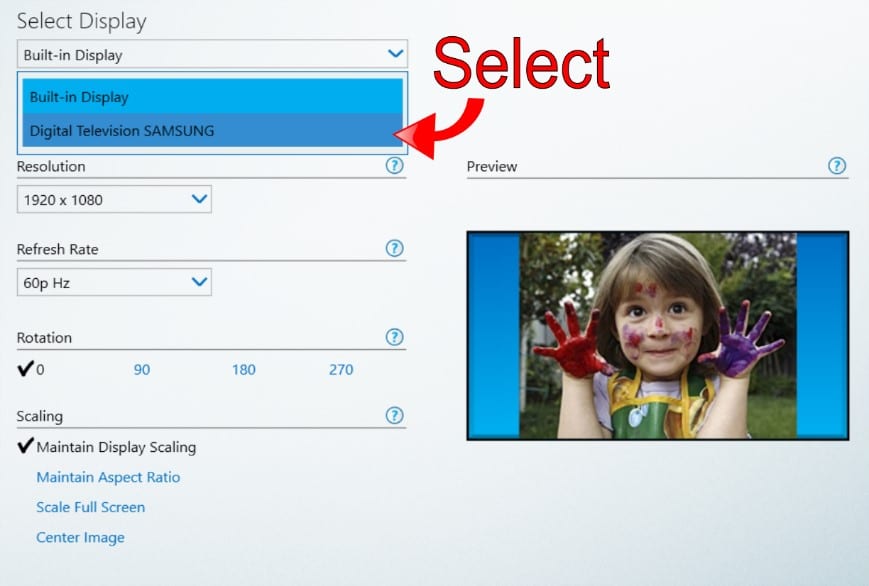
- Once you’ve selected the HDMI monitor display, change the resolution to a suitable setting for your TV. Note you can also use the “Scale Full Screen” setting to match the display to the HDMI TV’s settings. Under advanced settings, you’ll find Aspect Ratio settings, Quantization Range options, and the ability to enable or disable IT content. After making the changes, click on Apply at the bottom of the screen to finish the process.

Troubleshooting Limited Resolution Settings on your PC
If you find you have limited graphic and resolution settings available, it may indicate that your graphics driver isn’t working properly. To make sure your graphics card operates correctly with your HDMI TV, you’ll need to check for driver updates.
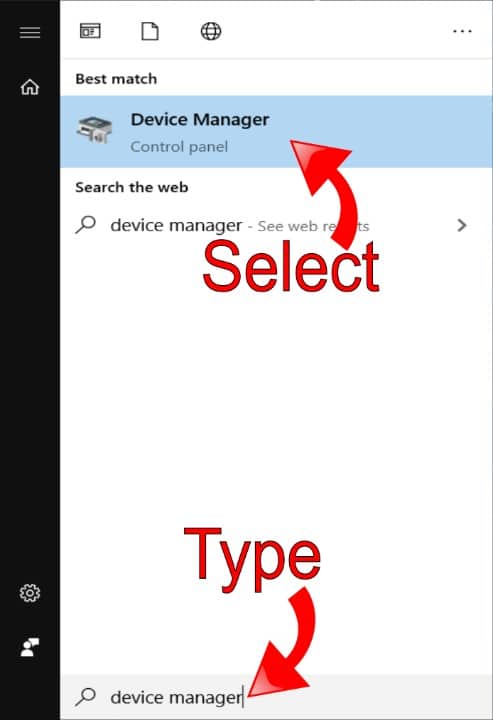
- Open your Device Manager by hitting the Windows Key and typing Device Manager. Select the top result from the list.
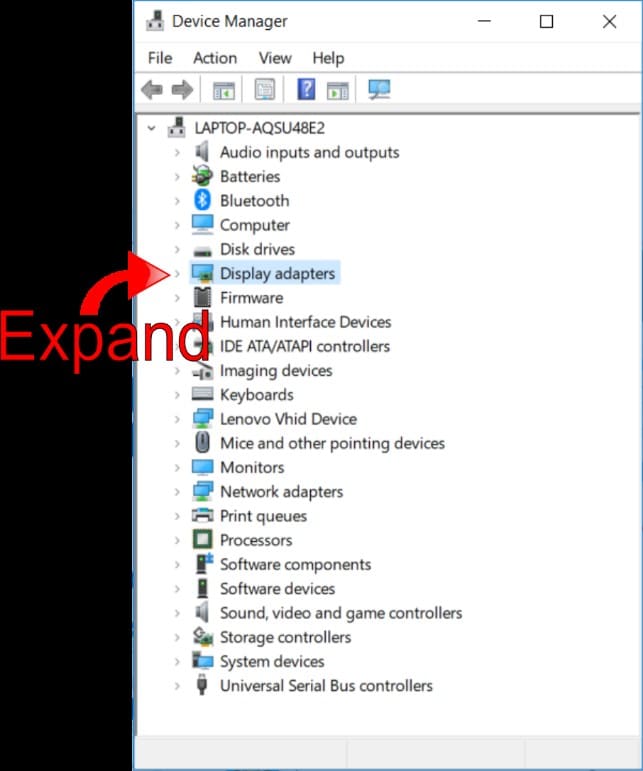
- In Device Manager scroll down to find your Display Adapters, then click on the arrow to expand and see the full list of available devices.
- Select an adapter and use the RHMB to open the context menu.
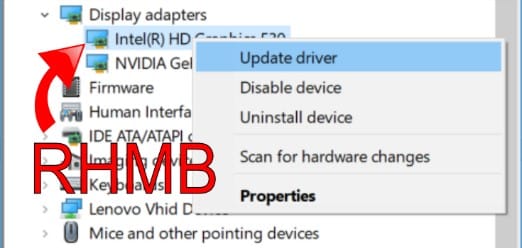
- On the context menu, you have the option to Update Driver, Disable Device, Uninstall Device, Scan for Hardware Changes, or access Device Properties.
- Update Driver – Allows you to update the driver either automatically or manually.
- Disable Device – Prevents the Device from working. If you want to use another graphics card as your primary display adapter, you can choose to disable the one you don’t want to use.
- Uninstall Device – Lets you uninstall the device drivers. You can reinstall the drivers after you’ve removed the software.
- Scan for Hardware Changes – Once you’ve uninstalled the device, scanning for hardware changes will add drivers from Windows for the graphics card.
- Properties – Shows detailed information about the device status, the driver used and provides additional settings for device optimization.
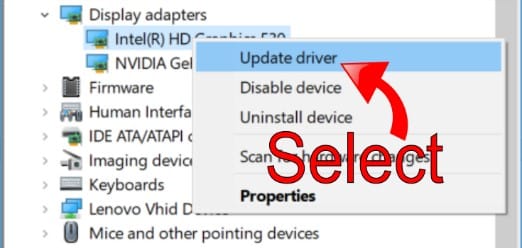
- Select Update Driver from the Context Menu.
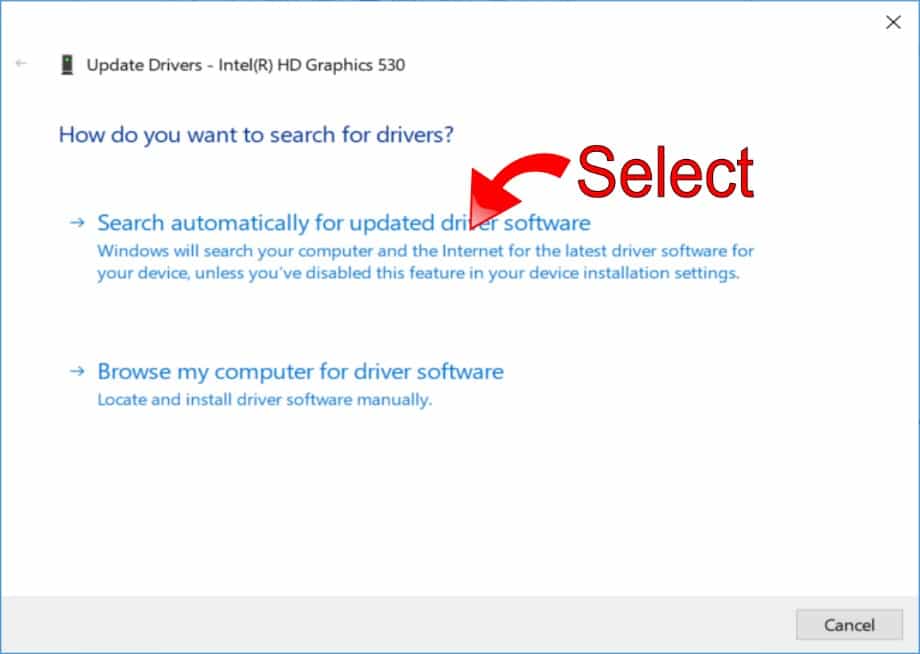
- On the Update Driver window, select Search Automatically for Updated Driver Software.
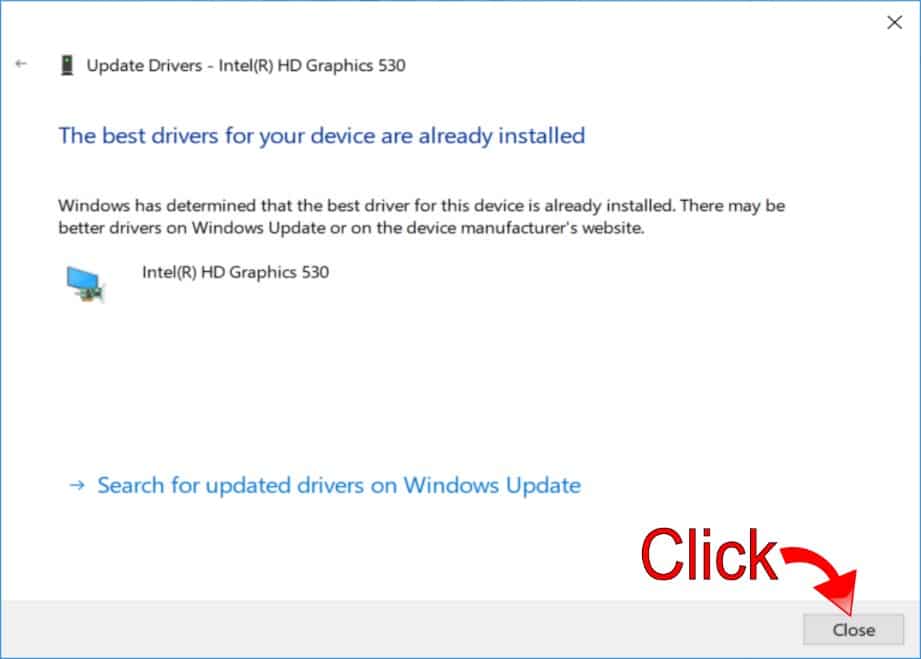
- If a newer driver is available, Windows will download and install it for you or inform you that you are already using the latest driver for your device. Click close once the process completes.
Let Driver Support Keep your PC Drivers Up to Date
If you’re facing issues with drivers on your PC that limit the options and features available with display adapters, you should use Driver Support to help. Driver Support will create a catalog of your PC’s hardware and connected devices, and once you register the solution it will automatically download and update your driver software for you.
For improved performance with Active Optimization and reliable PC operation, Give DriverSupport | ONE a try today!.