Canon LiDE 110 Black Scan Problem
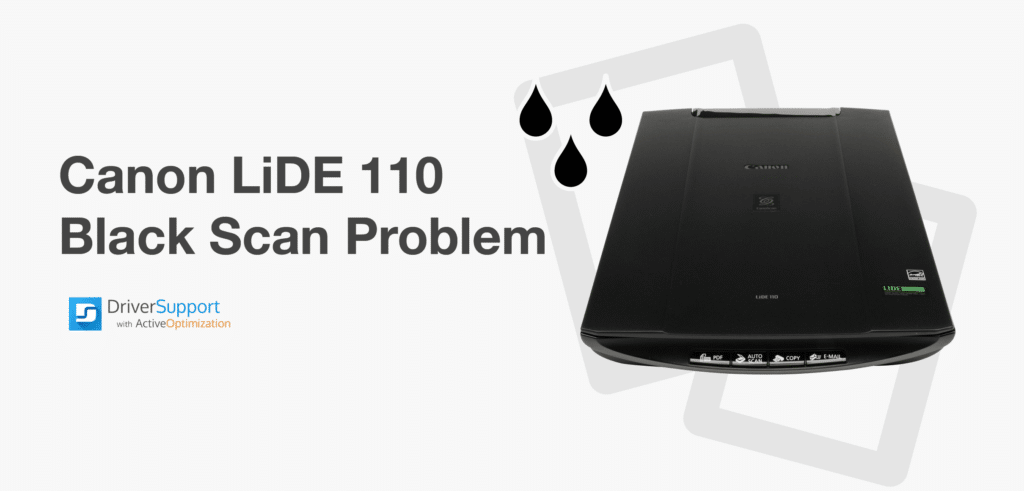
With its sleek and compact design, the Canon LiDE 110 scanner is a popular product for users that require a full-color image scanner. As the product specification states, the scanner should be able to produce photographic scans of up to 2400 x 4800 Optical DPI. However, some users have run into problems with the scanner only being able to create black scans at very low quality. To resolve the Canon LiDE 110 black scan problem, this guide will assist with the required troubleshooting steps and solutions.
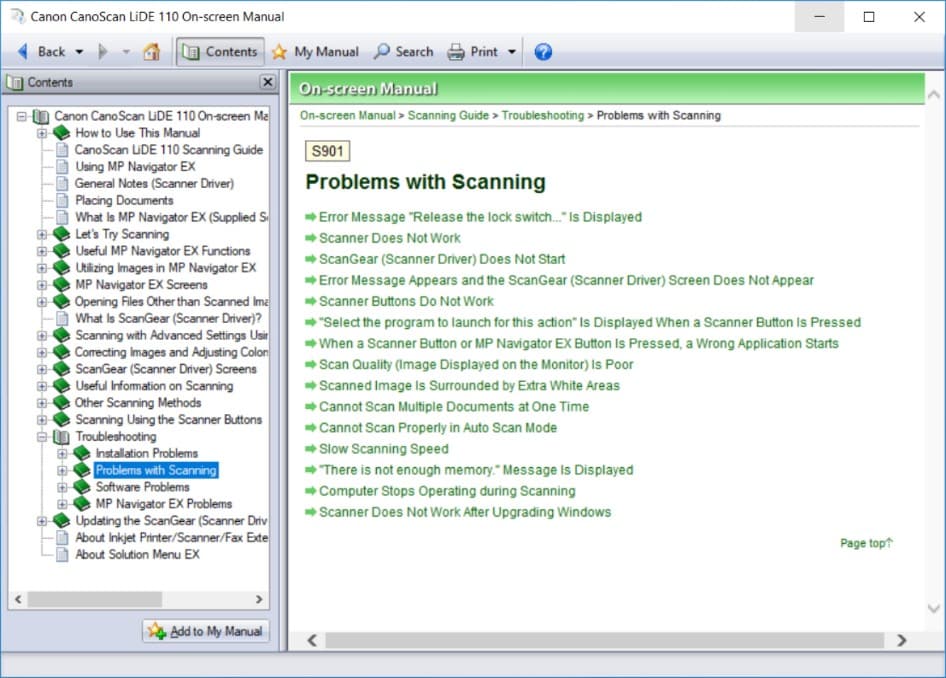
As shown above, Canon doesn’t specifically address the black scan problems in their troubleshooting guide. If you’ve already searched through the manual for a solution, you’ll note that there is a section about updating the CanoScan software if you’re facing issues with the scanner after upgrading or updating your Windows Operating System (OS). This guide will help you with updating the scanner software and drivers on your PC.

Removing the Scan Driver Software and Drivers and Reinstalling All the Required Software
If you’re experiencing issues with the scan quality, it may require you to uninstall and reinstall the latest software drivers from Canon. You can access the latest software from this page, which will help you to download the necessary drivers.
Removing the Scan Driver Software from your PC
The CanoScan product is Canon’s TWAIN-compliant driver software that works with the LiDE 110 scanner. Due to the recent issues with Windows updates corrupting drivers, uninstalling and reinstalling the software may solve the problem.
Although traditionally scanner manufacturers provided drivers as standalone software, modern scanners come with enhanced functionalities that add additional features from the application. The CanoScan software bundles all the required software into the application, including the scanner driver. Therefore, instead of just updating the driver from the Device Manager, it is necessary to remove the software first and reinstall the latest version provided by Canon.
- You should access your PC’s Control Panel by hitting the Windows Key and typing Control Panel into the search box. From the search results, click on the Control Panel application.

- In the Control Panel, locate and click on Programs and Features to find the CanoScan software on your computer.

- From the list of Programs and Features, scroll down until you find the CanoScan LiDE 110 Scanner Driver application.

- You can either use the Right Hand Mouse Button (RHMB) to open the context menu or click on the Uninstall option after selecting the program.

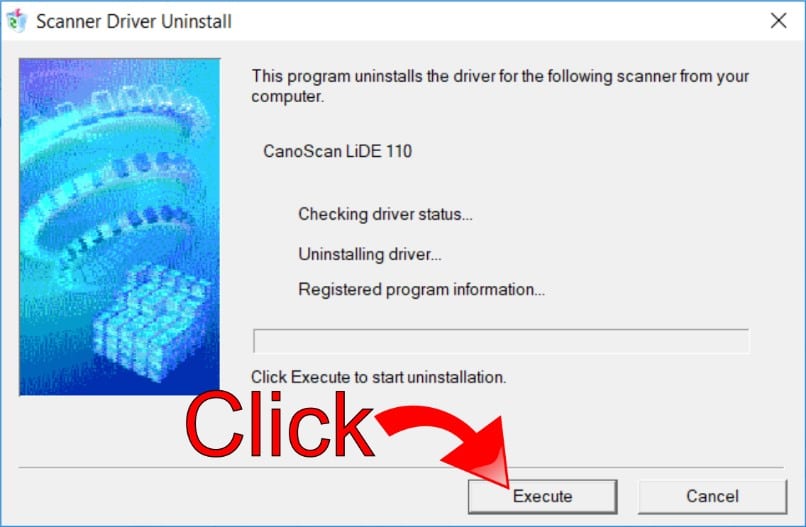
- On the Uninstall window, select Execute to remove the software. This will remove all the driver software from your PC before you can reinstall the latest version.
- You’ll receive a final prompt before the software uninstaller starts. Click Yes to proceed with removing the software from your PC.

- The following dialogue will show the uninstaller’s progress.

- After the process completes, you’ll receive a success notification. Click Complete to finish the uninstall process.

- Once you’ve uninstalled the CanoScan software, you should restart your computer. Although you may not receive a prompt to do this, it’s good practice to do this after uninstalling any software. During the restart process, Windows will remove additional items from your PC. These include registry entries and other binaries that the uninstaller wouldn’t automatically remove.

Reinstalling CanoScan Software on your PC
After uninstalling the CanoScan application and restarting your PC, you can reinstall the latest software from Canon for your LiDE 110 scanner. Although you may already have the software on a CD that came with your scanner, you’ll need to download the latest version of the application from Canon’s website.
This is important as some older versions of the software may no longer work after you’ve received the latest Windows updates. During the Windows fall update of 2018, some corrupted DNS records were included in the package. The corrupted DNS records caused many issues with device drivers on users’ PCs.
Microsoft eventually abandoned the fall update and released a new version in the spring of 2019. While this update didn’t contain the same issues, many users already received the fall update and it led to a host of issues with their devices. Original Equipment Manufacturers (OEMs) have since updated the latest drivers and software to fix the issues caused by the Microsoft Windows fall update.
To find the latest version for your Windows OS, go to this page and choose one of the options. Once you’ve downloaded the new software version, you can reinstall the CanoScan application.
- If you’re using the Chrome browser, you can find your software download by clicking on the up arrow at the bottom of the browser and selecting “Show in folder”.

- When you click on “Show in folder”, Chrome will open your downloads folder for you to quickly find the new software installer. If you use another browser, open the File Explorer and navigate to your download folder to find your installation file.
Once you’ve located the file, double-click on it to start the installation process.

- Once you’ve started the Installer, you’ll see the software unpacking the contents of the file before you can proceed.

- After the package extracts, the installer will automatically launch and you can click Next to continue the process.

Note you can also change your language on this page by clicking on the Language button.
- You’ll need to select your region in order to accept the appropriate license agreement before continuing with the software installation.

- After selecting your region and clicking Next, you can accept the License Agreement to proceed.

- You’ll now see a progress bar while the software unpacks additional files and installs the application on your system. It will also add the necessary desktop icons for the software to your PC, and remove any previously installed ones (if the uninstall process didn’t do this already).

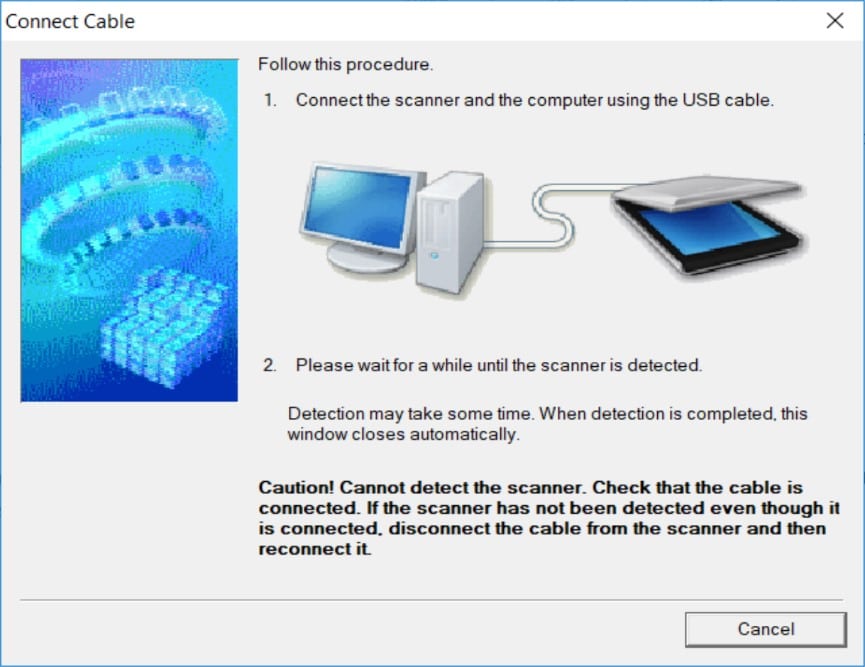
- After the software installs, you should connect your scanner via the USB cable to complete the process.
- After you’ve reconnected the scanner, the installation will complete and register your device with your PC. You can try scanning again and see if this resolved your Canon LiDE 110 black scan problem.
Additional Troubleshooting Steps
If you’ve updated or reinstalled the latest version of the CanoScan software and you’re still experiencing issues, there are additional troubleshooting steps you can try to resolve the issue. It’s important to remember that Canon designed this to be a portable scanner and therefore, included certain settings to protect the scanner during transport.
Checking the Manual Lock Setting on the Scanner
The Canon LiDE 110 scanner has a manual lock switch that may cause issues if not set to the unlock position. As Canon recommends always locking this switch during transport, your scanner may produce lower quality images if not switched to the correct position before you use the scanner.
You can locate the manual lock switch on the bottom of the scanner.
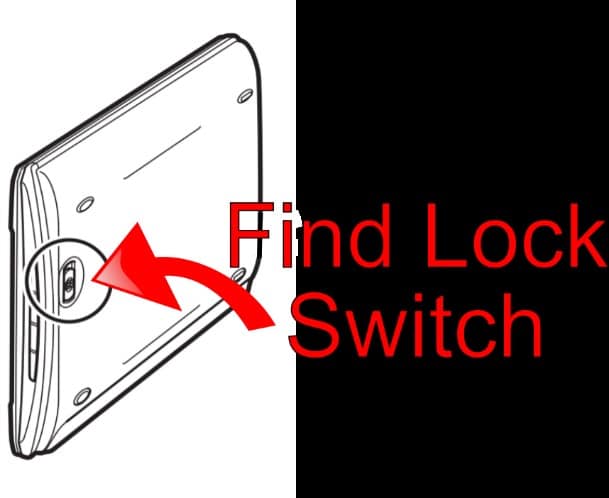
You should ensure the switch is set to the Unlock position.

Connect Scanner Directly to PC
In some instances, using a USB Hub can also lead to issues with the scan quality. If you’ve set the manual lock switch to the unlock position and updated your CanoScan software but are also using a USB Hub to connect the scanner, try connecting the scanner directly to your PC’s USB port instead for better results.
Use Driver Support to Manage all Device Drivers
To ensure you’re always using the latest drivers directly from the OEM, you should use Driver Support to manage all your device drivers. Driver Support will catalog the devices connected to your PC and update all the drivers automatically for you once you register the software. This will eliminate device issues due to driver problems in the future.
To improve your PC’s performance and to keep your devices operating reliably, Give DriverSupport | ONE a try today!.