How To Rollback NVIDIA Drivers in Windows 10

Since the latest updates from Microsoft for Windows 10, many users reported experiencing problems with graphics cards no longer functioning properly or failing completely. This issue by no means only applies to NVIDIA Graphic Processing Units (GPUs). The makers of MS Windows have since released new updates that attempt to solve the issues, but results vary between different devices and PC configurations. If you’re facing similar issues with your GPU, this guide will show you how to rollback NVIDIA drivers in Windows 10. Some of the issues include Blue Screens when attempting to run games, slower Frame Rates per Second (FPS), and intermittent failures when trying to run specific games.
Usually, updating your drivers can boost your PC’s performance and provide new features for your gaming experience. However, with so many companies responsible for different parts of your computer’s architecture, compatibility issues can creep in between different updates pushed out by different vendors. Rolling back your drivers to a previous version can fix these compatibility issues.

Rollback NVIDIA Drivers in Windows 10
Windows provides you with the ability to roll back a driver in the event that you experience issues after an update. While the process is simple, last year’s fall update from Windows corrupted DNS records and created a variety of problems with many different device drivers. This means that even if you roll back to a previous driver version, you may still face issues and it could mean you’ll need to do a clean install. This guide will cover both scenarios.
Rolling Back NVIDIA Driver from Windows Device Manager
Windows’ Device Manager is where you manage and update all your PC’s device drivers. You can also uninstall and disable devices using Device Manager. If you’re using NVIDIA’s GeForce Experience to manage your drivers, you may receive better results by using Device Manager to roll back your drivers instead.
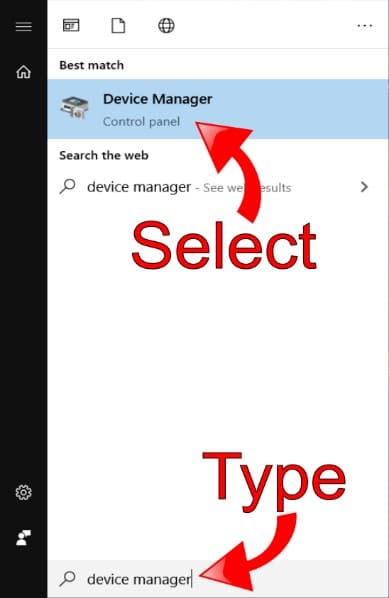
- Open Device Manager by hitting the Windows Key and typing Device Manager into the search bar. To open the application, select the top result.
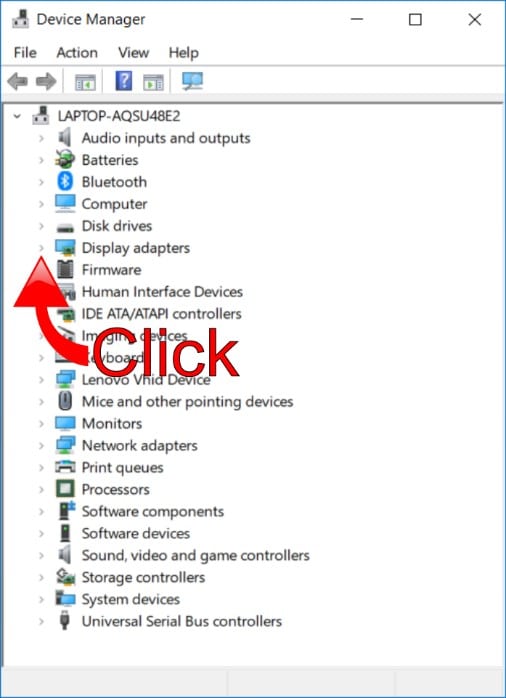
- In Device Manager, scroll down and locate the Display Adapters section. Click on the arrow to expand the list.
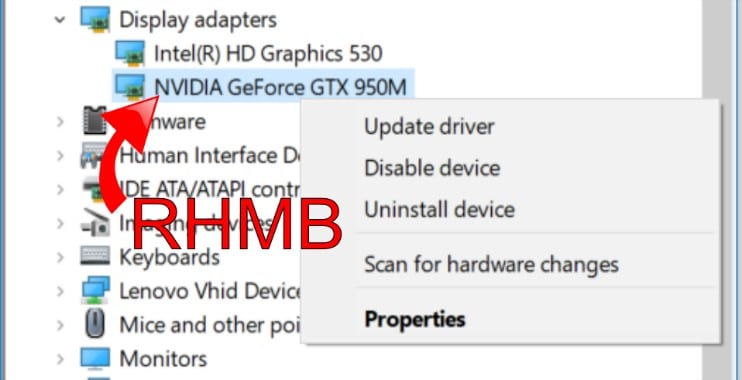
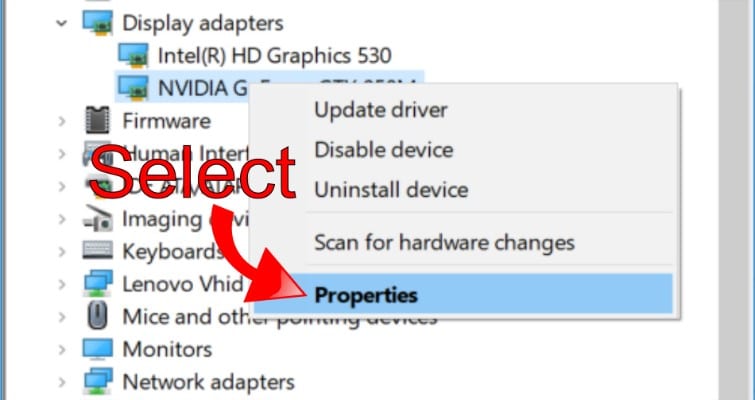
- You should see a list of the GPUs currently available on your PC. Select the NVIDIA device and use the Right Hand Mouse Button (RHMB) to access the Context Menu.
- On the Context Menu, select Properties to open the Device Properties Window.
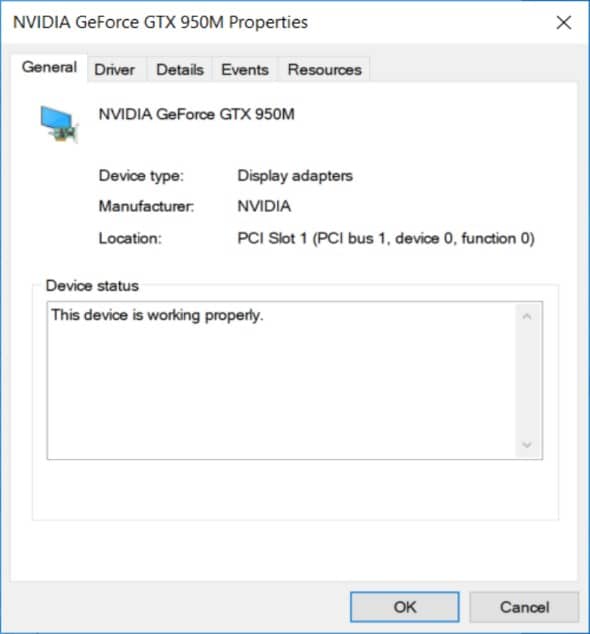
- From the Properties Window, you can see the Device Status, review the driver details, and find additional information about the resource settings.
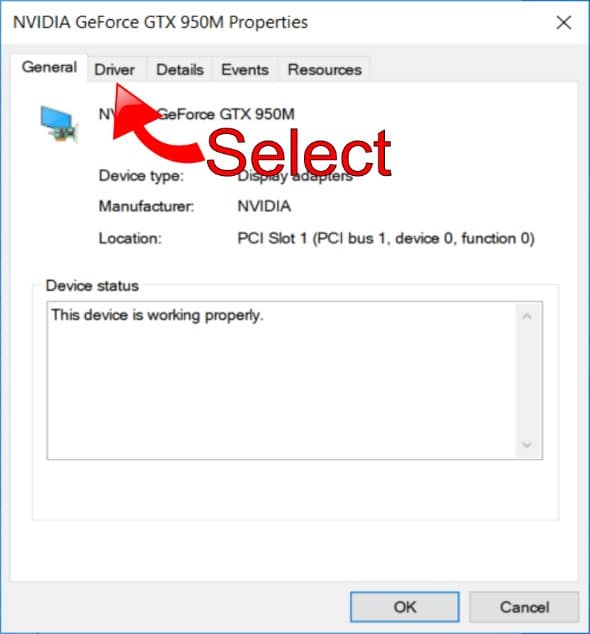
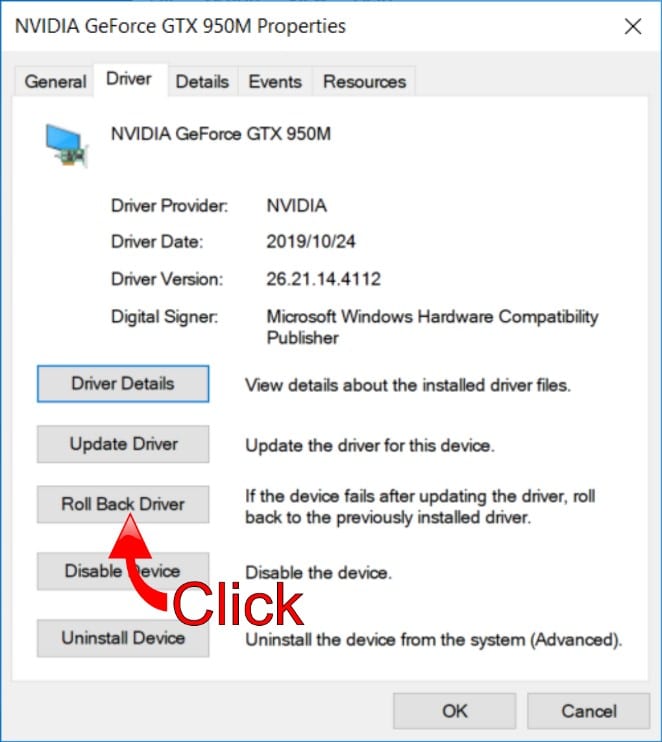
- To rollback your GPU driver, select the Drivers Tab.
- On the Driver tab, you can view the driver details, update the driver, uninstall the device, rollback the driver, or disable the GPU completely.
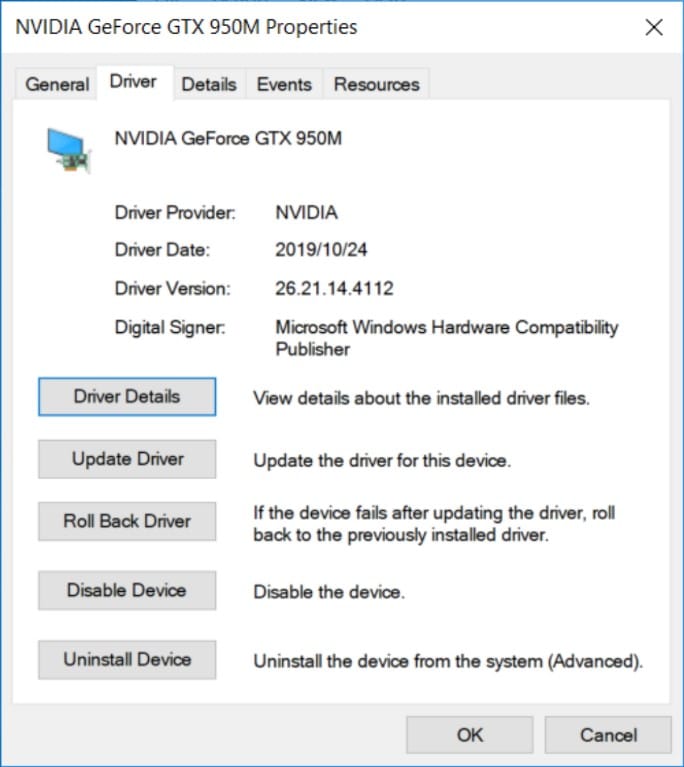
The options available include:
- Driver Details – Shows you the current files and the locations of the device drivers.
- Update Driver – Allows you to update the driver using the Windows Update Wizard.
- Roll Back Driver – Lets you revert to a previous driver version (if available).
- Disable Device – Shuts down the device temporarily.
- Uninstall Device – Removes the current driver and supporting software from your PC.
- Select Roll Back Driver to revert your driver to the previous version you were using before the latest update.
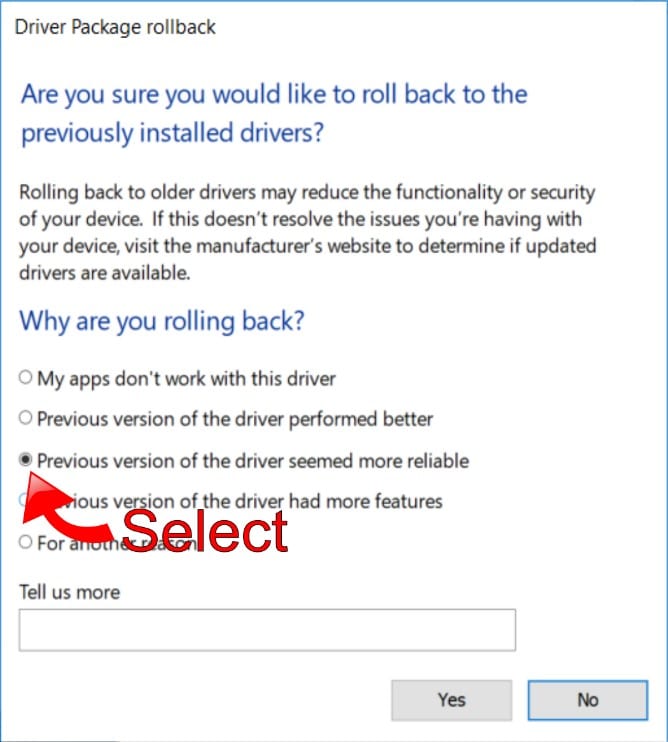
- Windows will request that you provide a reason why you’re rolling back the driver. This is to track issues with drivers and provide a better service to other users in the future.

- You should choose the option that applies to your specific issue. If the GPU didn’t work with the latest driver, this is valuable information for Microsoft so you should make sure to select that reason. However, if you had any stability issues with the latest driver, select Previous Version of the Driver Seemed More Reliable.
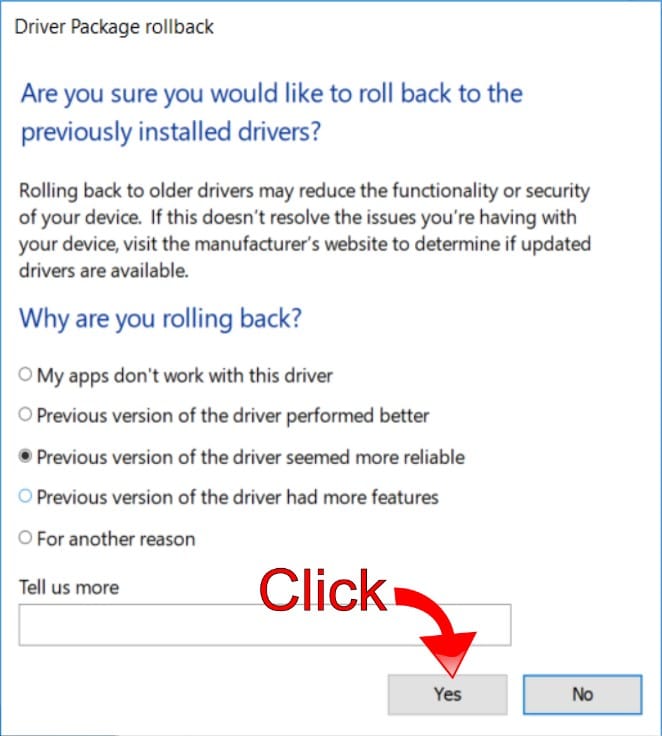
- Click Yes to revert to your previous NVIDIA device driver.
- Windows will uninstall the current driver and reinstall the previous version in the background. While the process runs, you won’t be able to access the Driver Properties window. Once the process completes, you’ll note the Driver tab now displays the previous driver version instead of the last one you were using.
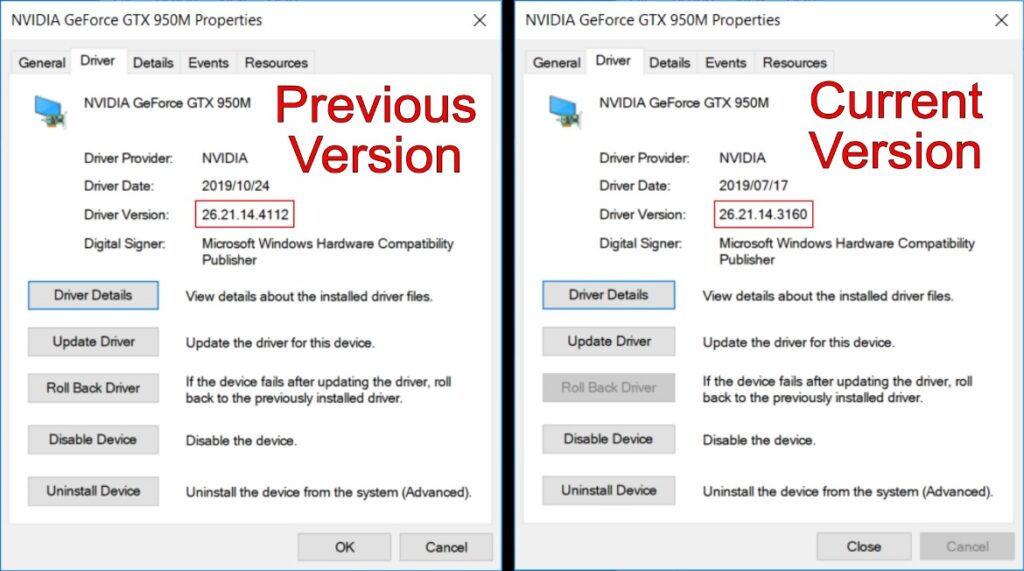
Note that once you revert to the previous driver, the Roll Back option will no longer be available on the Driver tab.
Using Older Driver if Roll Back Option isn’t Available
If you don’t have the option to rollback your driver, it could mean you performed a clean install of the latest version. In this case, you can still revert to a previous version by uninstalling the latest version and downloading an older one from NVIDIA’s website.
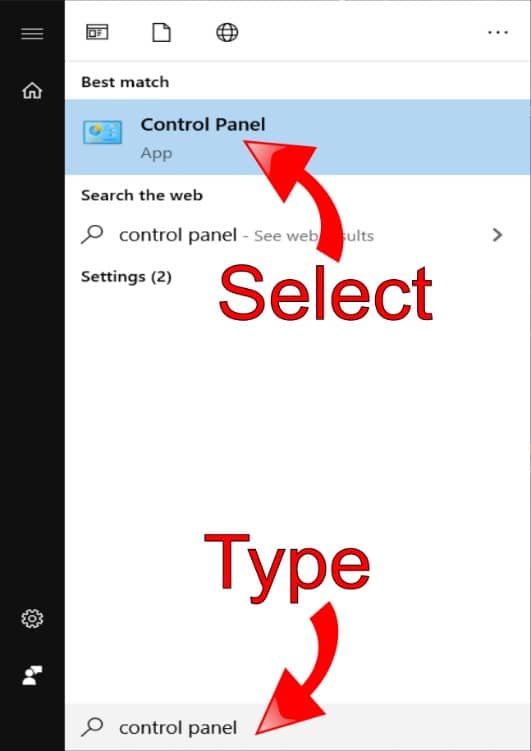
- To uninstall the current version, open Control Panel by hitting the Windows Key and typing Control Panel, then select the top result.
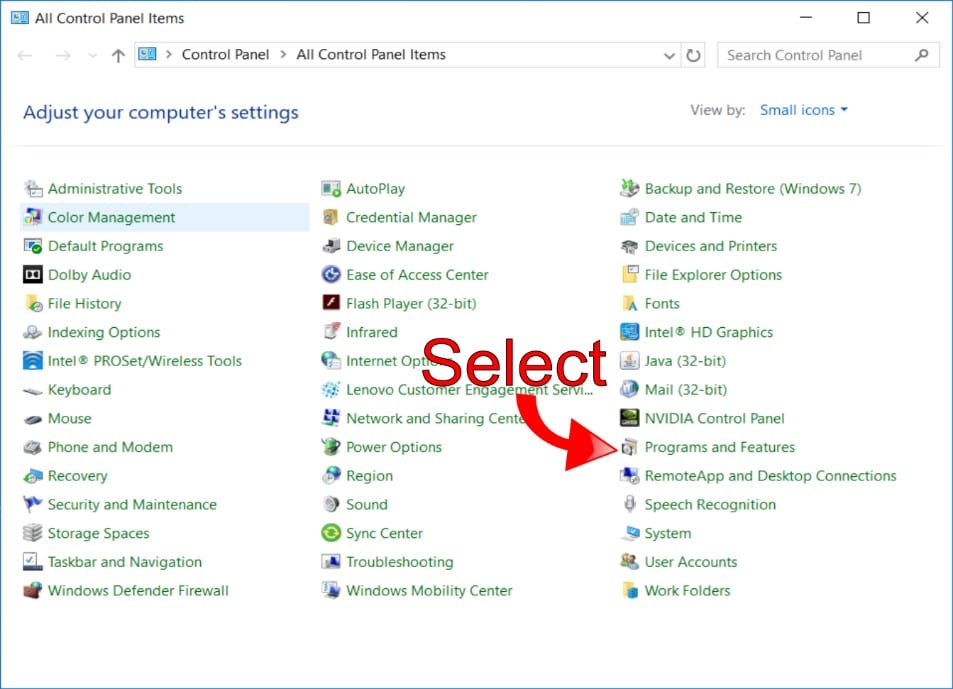
- In Control Panel, select Programs and Features. If you can’t find this option, change the view from Categories to Small Icons and you should be able to find the application.
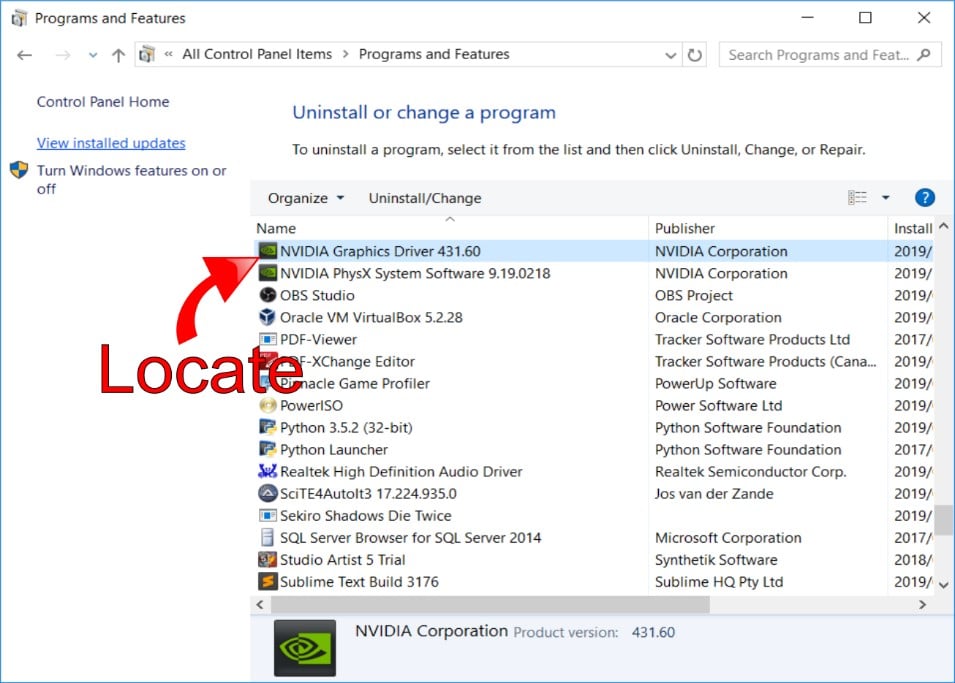
- Scroll down in Programs and Features until you find the NVIDIA Graphics Driver software.
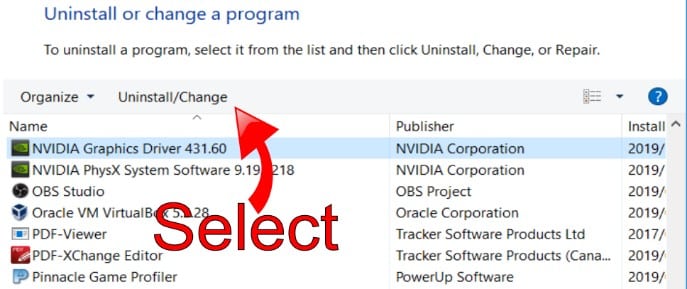
- Select the software and click on Uninstall / Change to open the Uninstaller.
- This will load the NVIDIA Uninstaller that will allow you to make changes to your driver software.
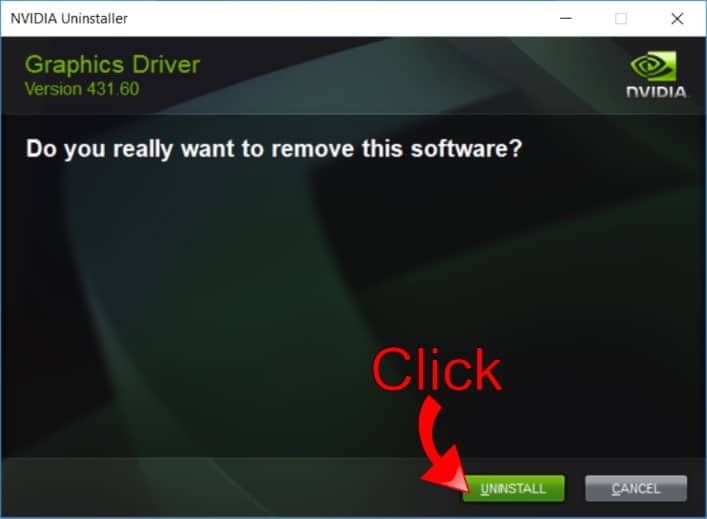
- You’ll need to confirm that you want to uninstall the drivers. Select Uninstall to continue.
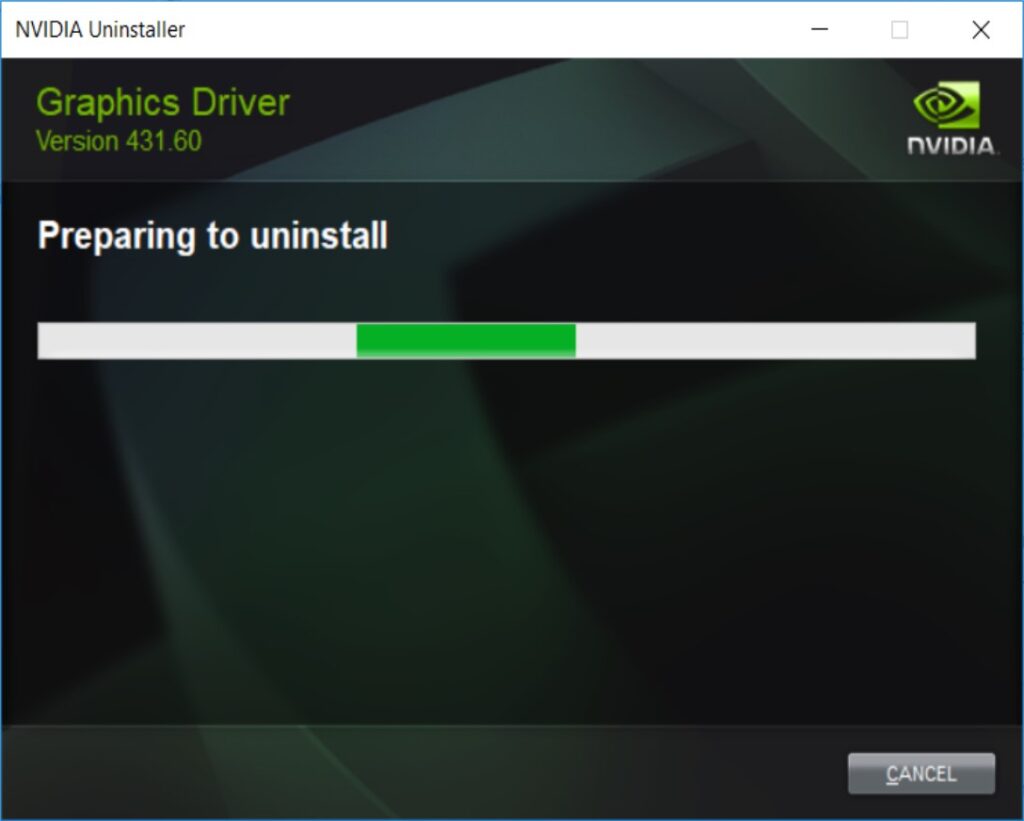
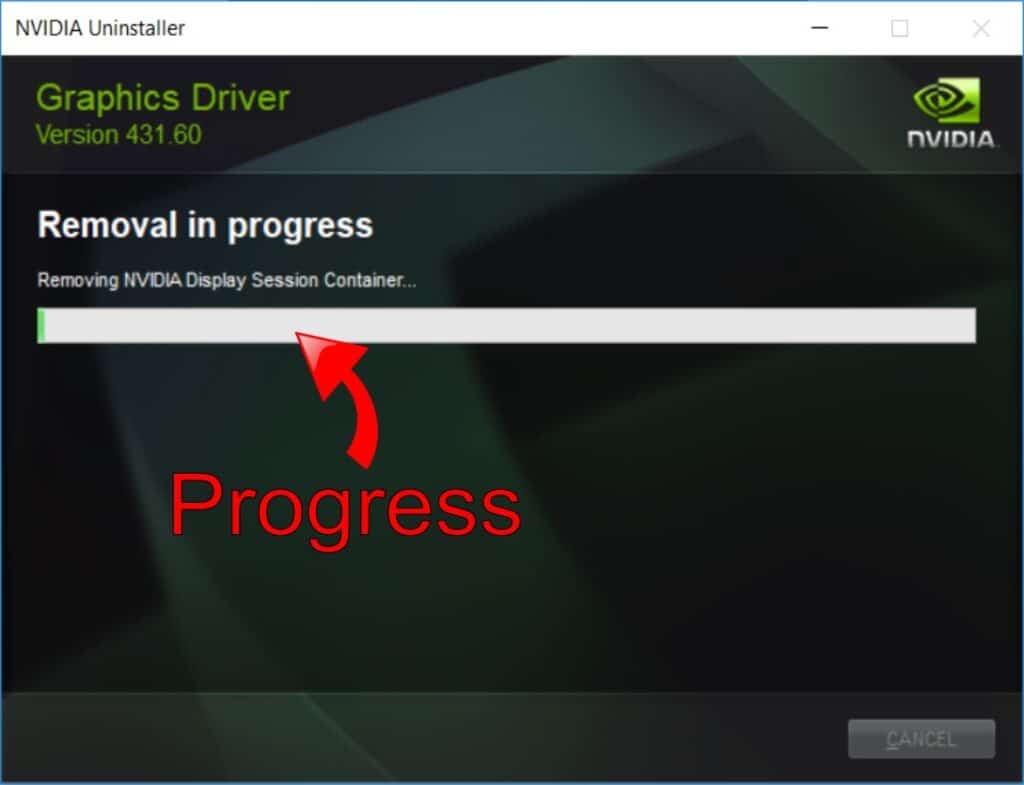
- Once you click on Uninstall, NVIDIA will start uninstalling the device drivers. You can track the progress on the screen.
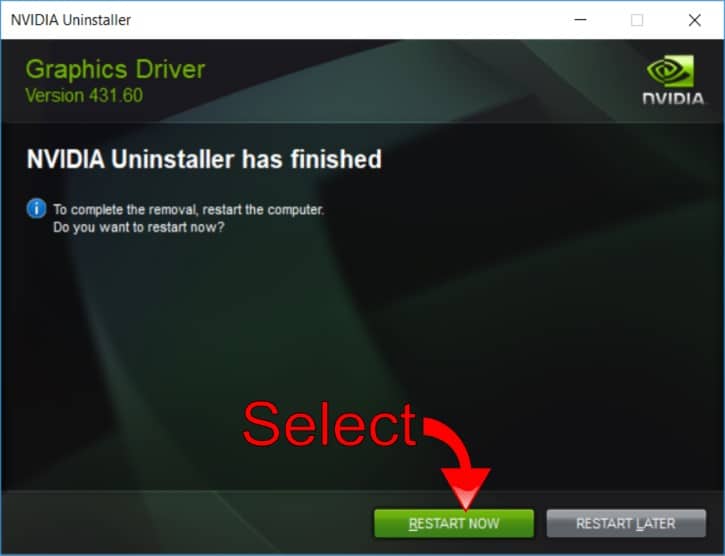
- After the process completes, you’ll need to restart your PC to finalize the process.
- Once you’ve restarted your PC, you should head to the NVIDIA website and download the driver you want. Use the manual search for your device model to locate a list of older drivers.
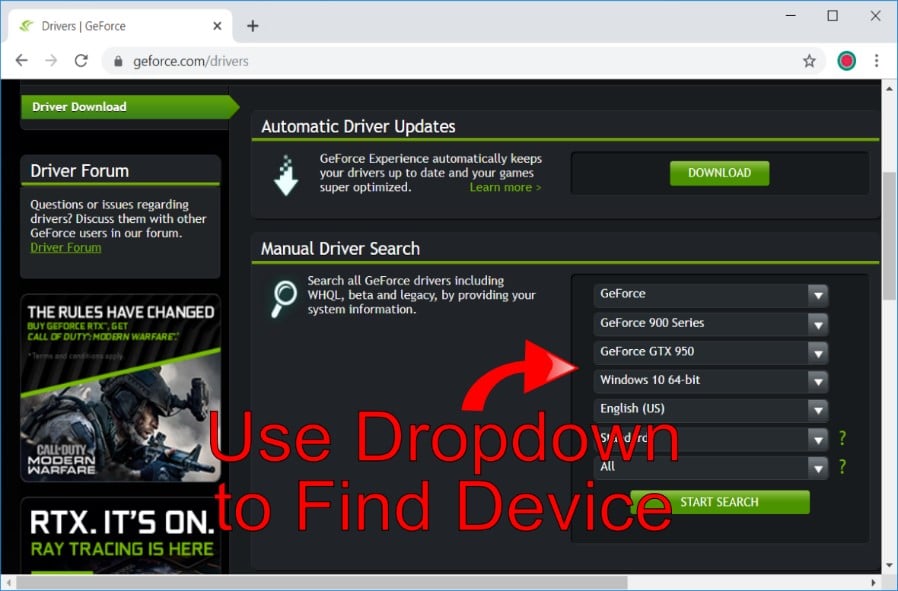
- After selecting the model of your GPU, click on Start Search. NVIDIA will provide you with a list of drivers for your device and you can choose the one that gave you the best performance.
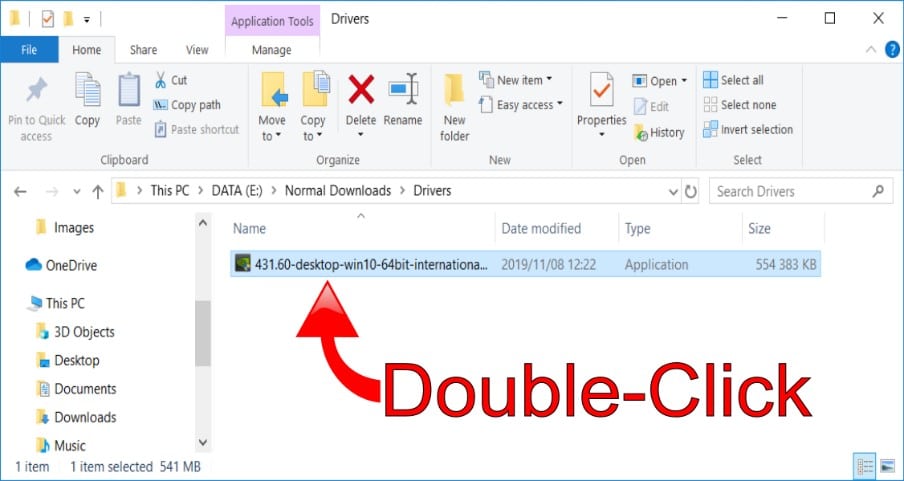
- Download the driver from the site and locate it on your computer, then double click to start the installation process.
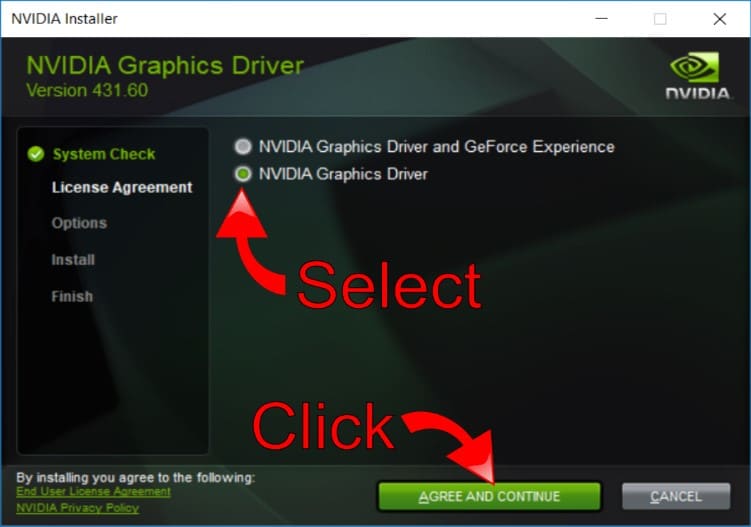
- Accept the default extraction folder and wait for the installer to load. Once the installer is open, select the NVIDIA Graphics Driver option from the screen and click on Agree and Continue.
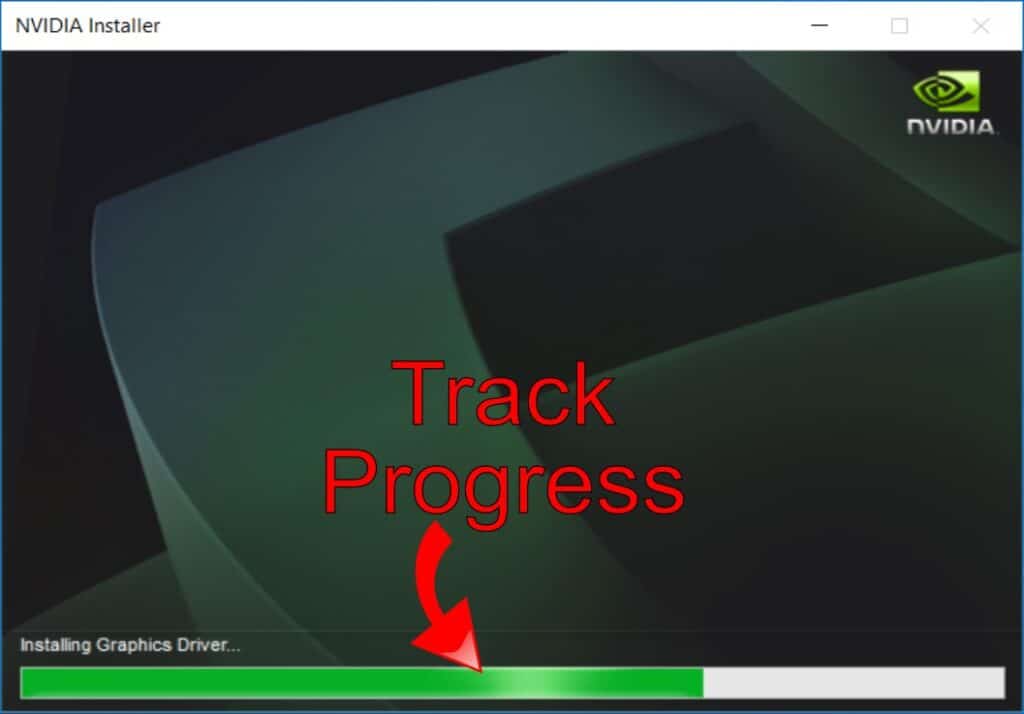
- Accept the default settings by clicking Next on the page. Once the installation starts, you can track the progress until it completes.
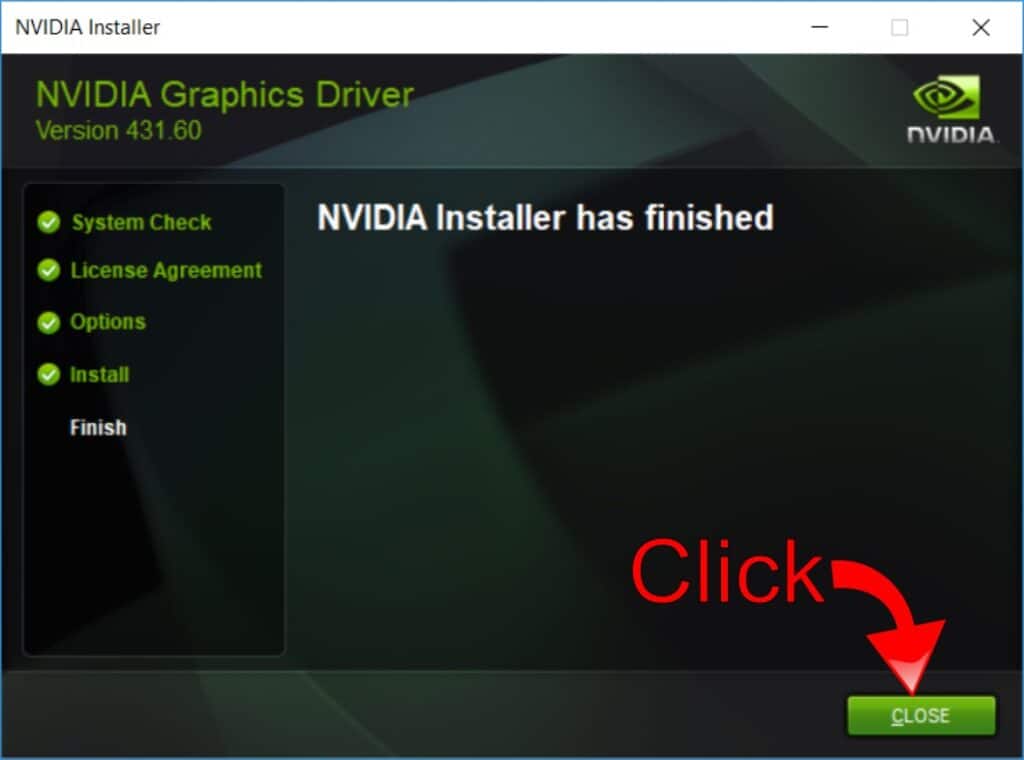
- You’ll receive a confirmation message that the installation was successful and the device is now ready for use. Click on Close to complete the process.
- To verify you are using the version you wanted, open Device Manager and open the Display Adapter properties for your NVIDIA GPU.
- Click on the Driver tab and verify it’s the version you want to use on your PC.

Note that for the best results, you may need to try different versions. Follow the steps in this guide while using different driver versions if you aren’t sure what driver you had installed previously. Unfortunately, the different driver versions from NVIDIA provide varying results depending on which build of Windows and what updates you installed on your PC.
Manage Your NVIDIA GPU Drivers with Driver Support
You can opt to use Driver Support to manage your NVIDIA GPU drivers and other devices. Driver Support ensures you only use the latest signed drivers for your PC’s hardware. If you download and register the software, Driver Support will create an inventory of your PC’s hardware and devices, and automatically install the updated drivers for you. You can also backup all your drivers, and restore a previous driver if you run into any problems with a new version.
To improve your PC’s performance and quickly recover from driver related issues, Give DriverSupport | ONE a try today! for improved peace of mind.