Slow, lagging, unresponsive computers can drive anybody crazy! Computers need ample processing speed and memory space to keep applications running smoothly and computer upgrades can be expensive.
Fortunately, there are 5 tweaks to make almost any computer faster.
1. Turn Off Windows Animations for a Speed Boost
Rich animations, smooth renderings, and sleek user elements may look nice, but it does nothing for performance gains. The few moments it takes for the Start menu tiles to animate can slow down a computer. Likewise, launching new apps, minimizing programs, and sliding windows all create additional animations that can be easily disabled for a boost in computer speed.
How to Turn Off Windows Animations?
The visual effects are on by default and can even impact battery life. Fortunately, Windows animations are easy to turn off:
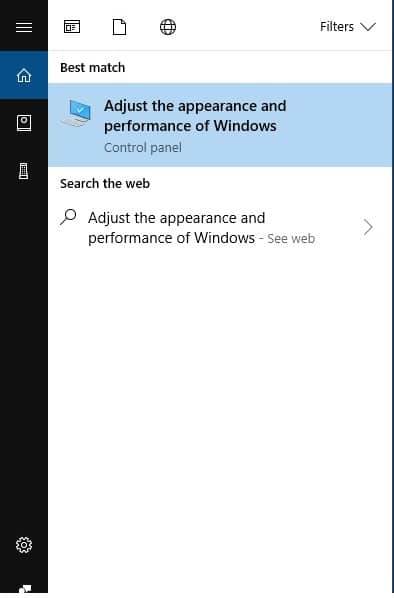
1) On the Start Menu, search for Adjust the appearance and performance of Windows, and click it.
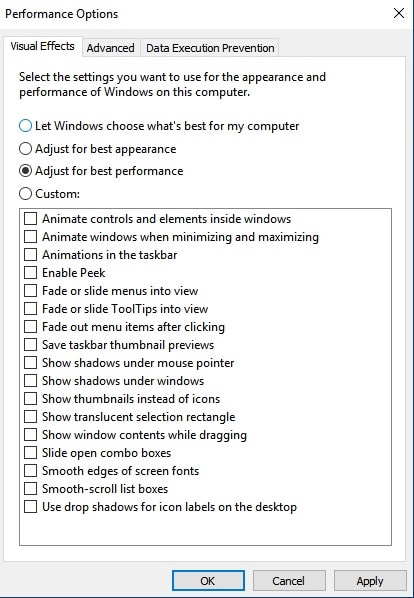
2) Select the Visual Effects tab and Adjust for best performance – or select Custom to manually disable/enable visual effects. In regard to animations, we recommend disabling:
l Fade out menu items after clicking
l Fade or slide menus into view
l Fade or slide ToolTips into view
l Animate controls and elements inside windows
l Animations in the taskbar
l Animate windows when minimizing and maximizing
Keep in mind: Visual Effects will also impact the way fonts are displayed. To see formatted fonts correctly, make sure to leave Smooth edges of screen Fonts check-marked.
3) Click Apply (changes can always be undone by selecting Let Windows choose what’s best for my computer)
Note: Some computers may need a restart for changes to take full effect.
4) Click Ok
Animations Are Gone. What Happens Next?
With animations and effects disabled, you’ll notice that your Windows System might feel a little bit faster. Apps will open more quickly, windows will instantaneously respond to minimizing or resizing, and the animation time delay won’t slow down your computer. Naturally, not everyone welcomes the lack of animation transitions which is why they are enabled by default. Luckily, the hard drive can also be optimized to make your computer faster.
2. Defrag and Clean your Hard Drive
The hard drive can naturally bog down computer resources when it comes down to accessing and loading programs in a speedy manner. Fragmented files can burden the hard drive even more and make program access and load times take even longer! Luckily, hard drives can be easily defragmented. It is best to clean the hard drive first before defragmenting unneeded files. By default, Windows 10 automatically defragments the computer regularly, but if you’ve disabled defragmenting, or if you’ve recently deleted/moved a lot of files, a fresh defrag could help chop a few seconds off any processes that access lots of files.
How Do You Clean Up Your Computer to Make it Faster?
Before defragging, cleaning up unnecessary files can do wonders for your computer and the performance of your hard drive. Unnecessary files can burden the hard drive and can slow down the system when it’s time to index them (more on indexing later). Many clean-up tools are available and can remove unnecessary files like the browser cache, temporary files, and cookies. Fortunately, Windows comes with a disk clean up utility that can remove basic clutter. Open it with the steps:
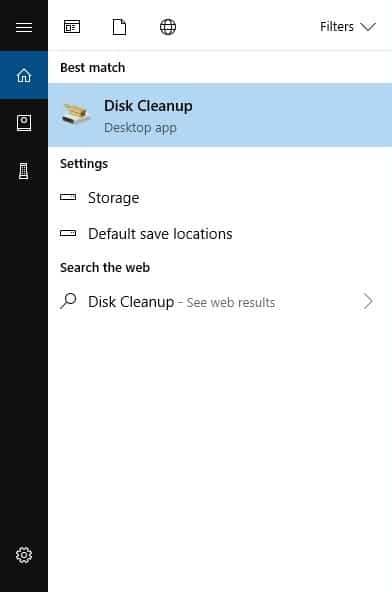
1) Open the Windows Start Menu and search for Disk Cleanup
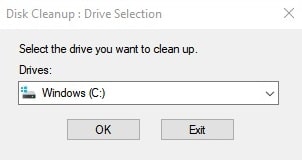
2) Open Disk Cleanup and select the drive you wish to clean. Click OK
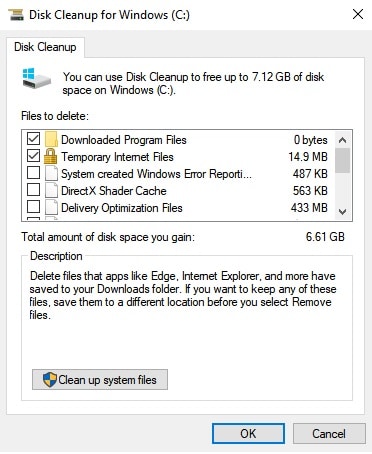
3) Select the files you wish to clean up and click OK
The disk clean up can range from a few minutes to a few hours, depending on how many files are being erased. It is important to defragment your hard drive once the cleanup is completed.
How to Defrag your Hard Drive
As mentioned earlier, hard drive defragmentation can help re-organize files into areas that are closer together (for faster access). A hard drive can be easily defragmented for performance by following the steps:
Note: Solid State Drives (SSD) do not need defragging but are very expensive.
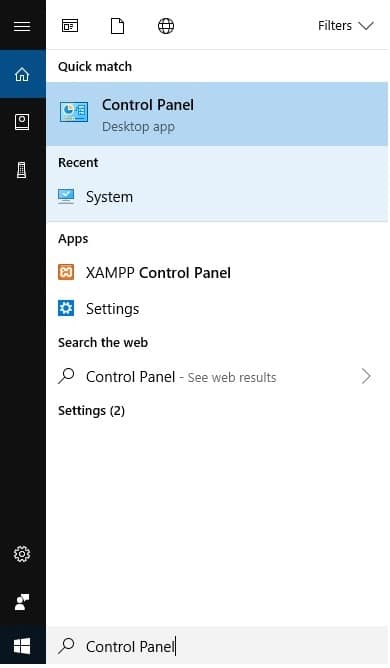
1)Type and click Control Panel in the Start Search menu
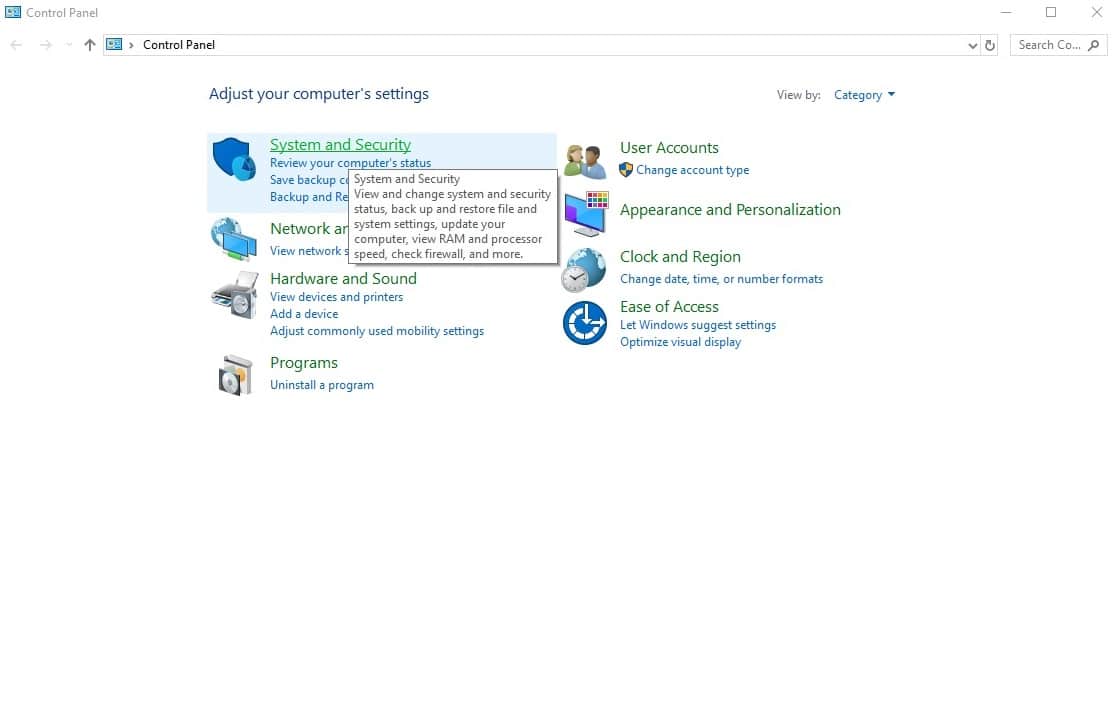
2)In the Control Panel, navigate to System and Security
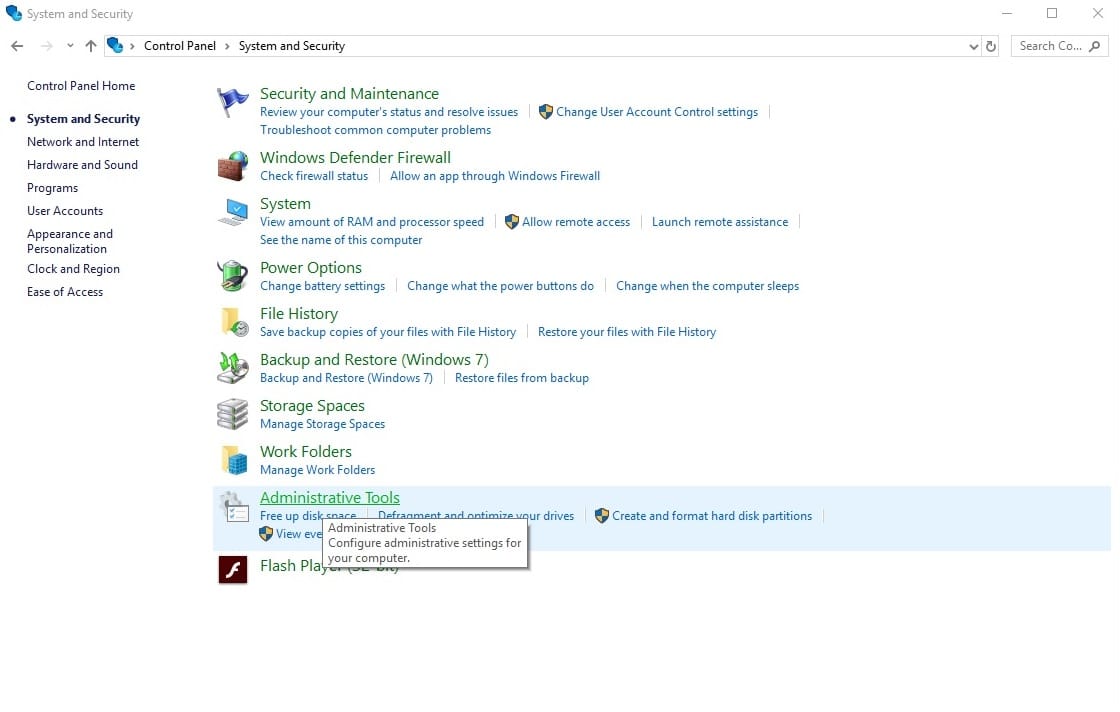
3) Next click on Administrative Tools

4) Click Defragment and Optimize Drives
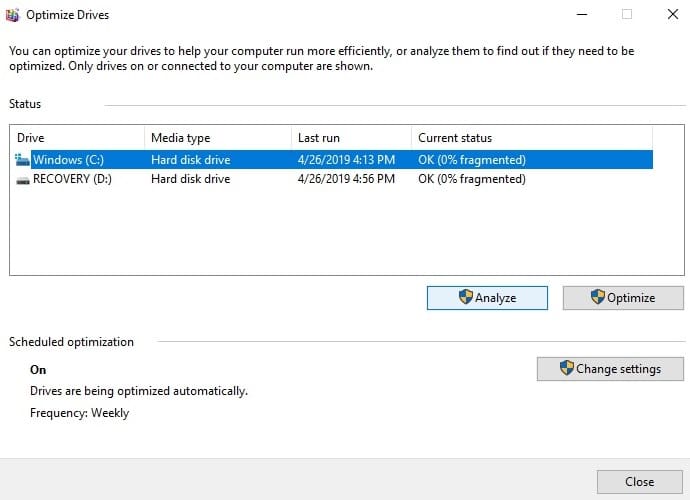
5) Now the drive can be Analyzed (to determine how fragmented it is) or Optimized (to defragment the drive)
Keep in mind, the defragmentation process can take a few hours, depending on how fragmented your hard drive is. It is best to leave the computer alone during this time, for the best results. Disk defragmentation can also be automatically scheduled for convenience.
3. Get Rid of Start-up Programs
Memory and process intensive applications can drain your computer of resources and make start-up times take forever! Worse yet, bloatware, spamware, and other unneeded applications can stay running in the system tray – further draining resources. Fortunately, unneeded applications can be disabled with these simple steps:
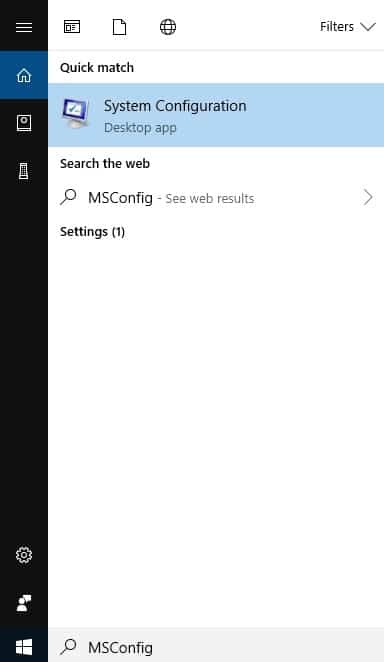
1) For Windows 7, type MSConfig into the Start Search and click System Configuration
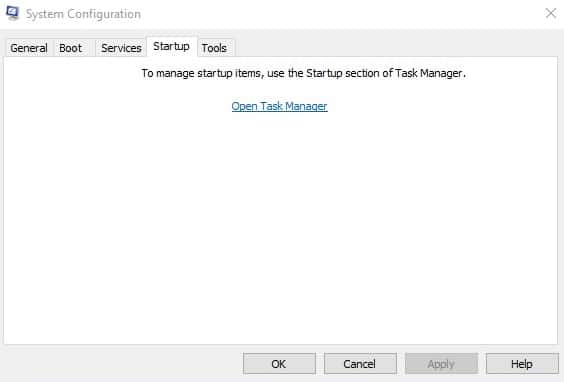
2) On System Configuration, navigate to Startup to disable or enable Startup applications.
Note: Windows 8 and 10 requires you to Open Task Manager
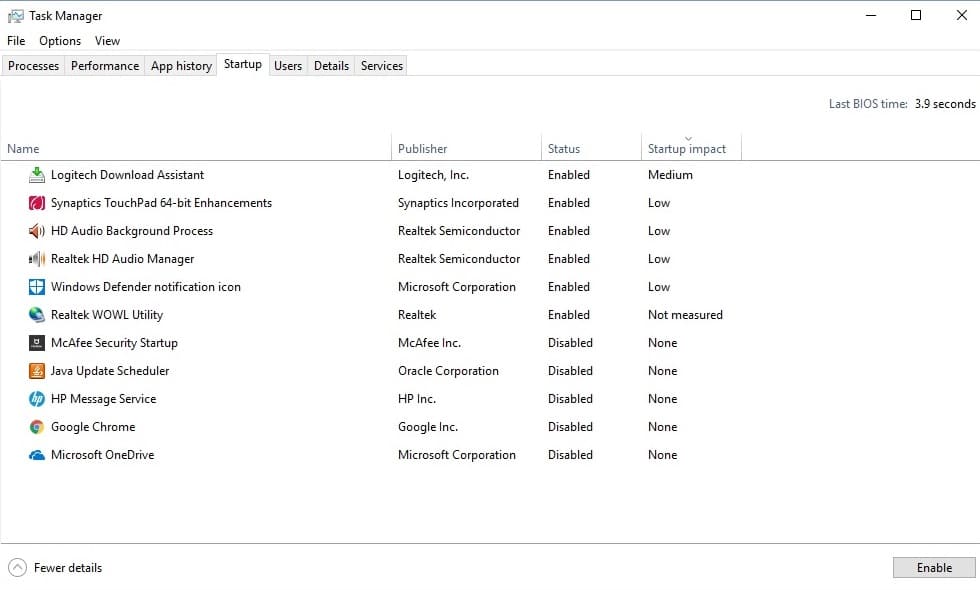
3) On the Task Manager, navigate to Startup and select the unneeded programs you wish to disable at startup
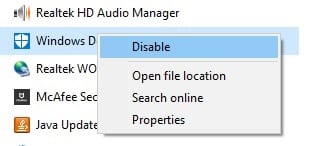
4) Right-click and Enable or Disable the program from starting.
4. Run ReadyBoost for Faster Performance
ReadyBoost was introduced with Windows Vista. With ReadyBoost, a computer can use a USB flash drive to increase its virtual memory and it functions much like RAM (it’s just a bit slower than ram). Nevertheless, there are a few caveats to keep in mind:
- Biggest performance gains will be seen on a computer completely maxed out on memory.
- Not all USB drives are compatible with ReadyBoost
- ReadyBoost is significantly slower than RAM
How to Run Ready Boost
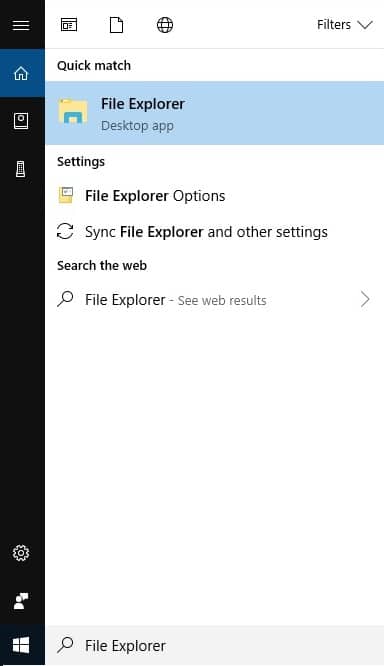
1)Install a flash drive and open File Explorer
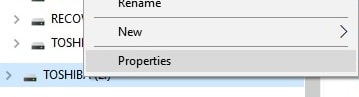
2)Right-click your flash drive (in our case it is drive E) and select Properties
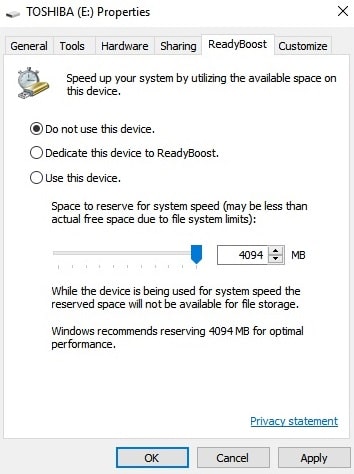
3) Click the ReadyBoost tab and Use this device. Move the slider to allocate or deallocate flash drive space to ReadyBoost (more is better).
4) Apply your settings and enjoy a slightly faster computer!
5. Limit Windows File Indexing
Windows 10 search indexing allows you to quickly find files but can slow down the system. Instead of having to wait the few seconds it takes for your hard drive to find a file, indexing lets your hard drive shuffle through thousands of file entries near instantly (just like a database). Unfortunately, near-instant search queries can come at the expense of faster system performance. Fortunately, system indexing can be disabled quite easily.
How to Limit File Indexing?
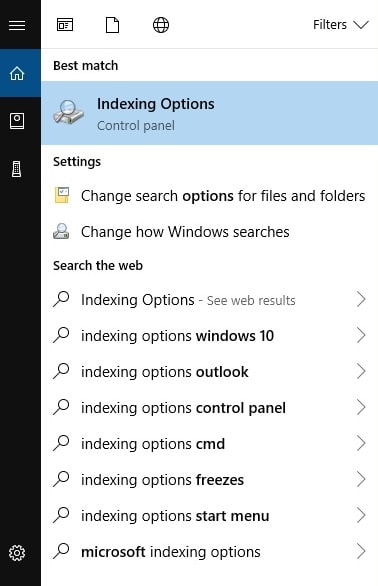
1) Search and open Indexing Options on the Search bar
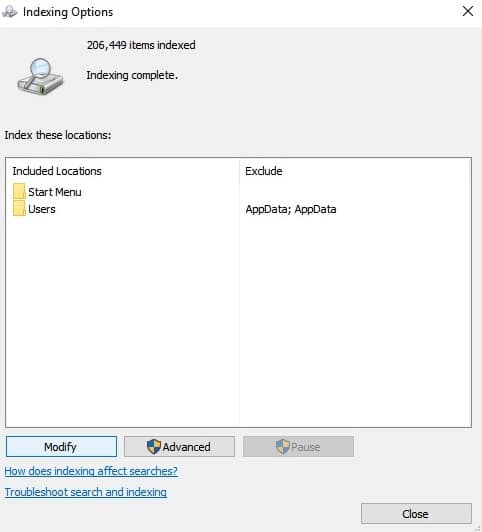
2)A list of currently indexed files is displayed. On the Indexing Options, window click Modify.
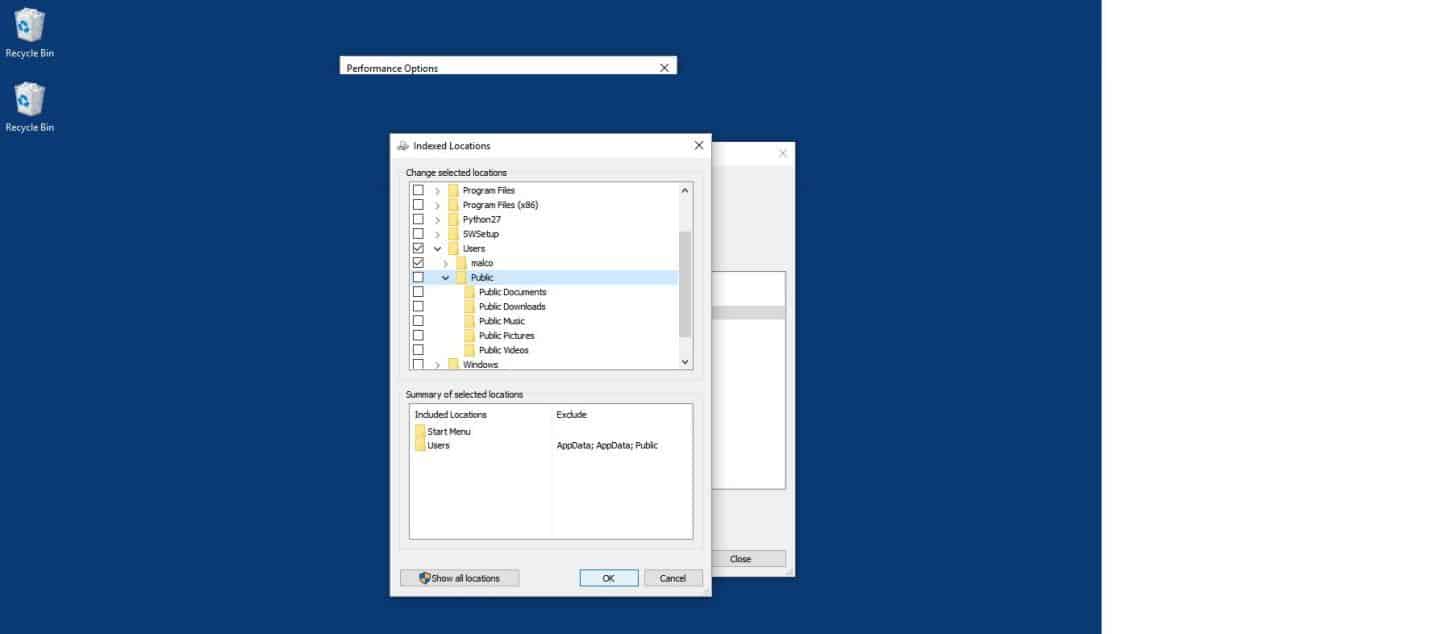
3) Uncheck mark the folders that you do not wish to index and click OK.
Note: You’ll notice that not all files are indexed, which is purposely Intended for system performance. Only a few select folders are indexed by the system’s default settings, which can still lead to hundreds of thousands of entries. It is recommended that unused folders are deindexed first.